
Your piano roadmap for success
What to learn when you’re first starting out…


Where your piano dreams take flight…
If you're thinking about learning piano, or if you've recently taken it up, this is the eBook you need. As a beginner, it can be overwhelming thinking about the order in which everything should be learnt - adding confusion and friction to your early piano memories. That's where this FREE eBook comes in - giving you a roadmap that guides you from an absolute beginner to an intermediate. This roadmap includes everything listed above in beginner friendly detail. There’s nothing stopping you anymore. Music Secrets is the piano teacher you’ve been waiting for.

Beginner Sheet Music - In Order of Difficulty
-
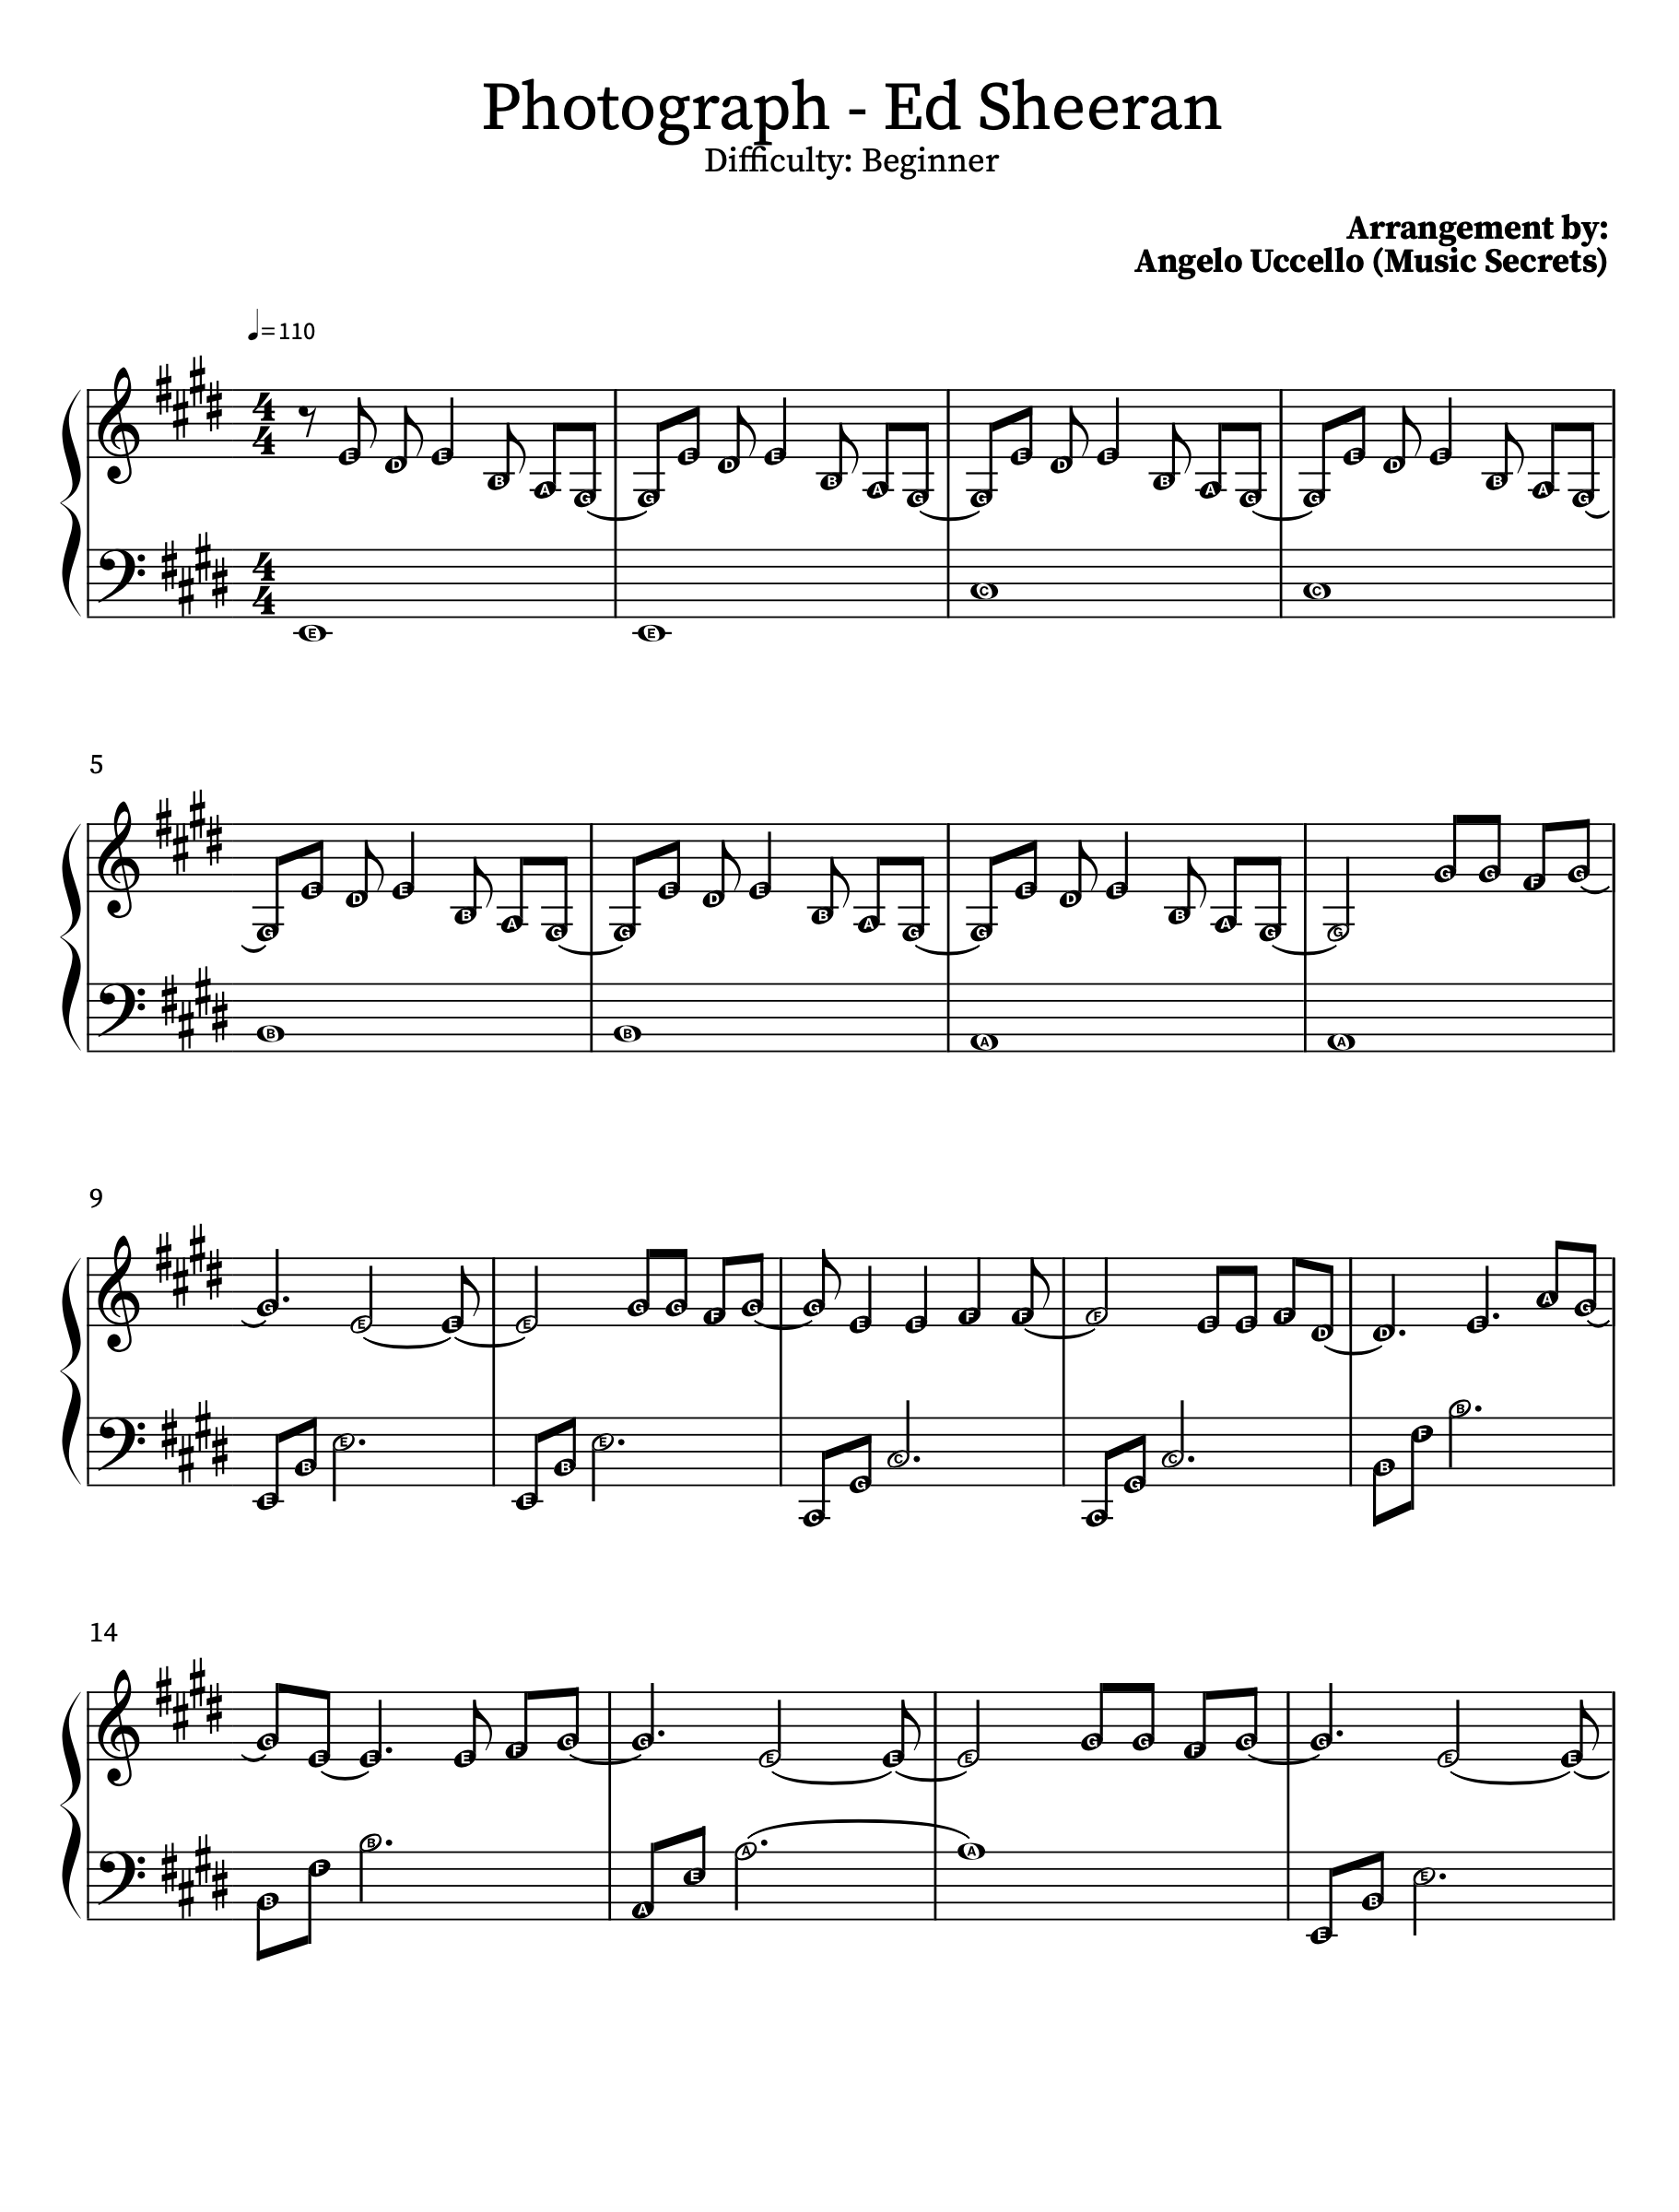
Level - ★
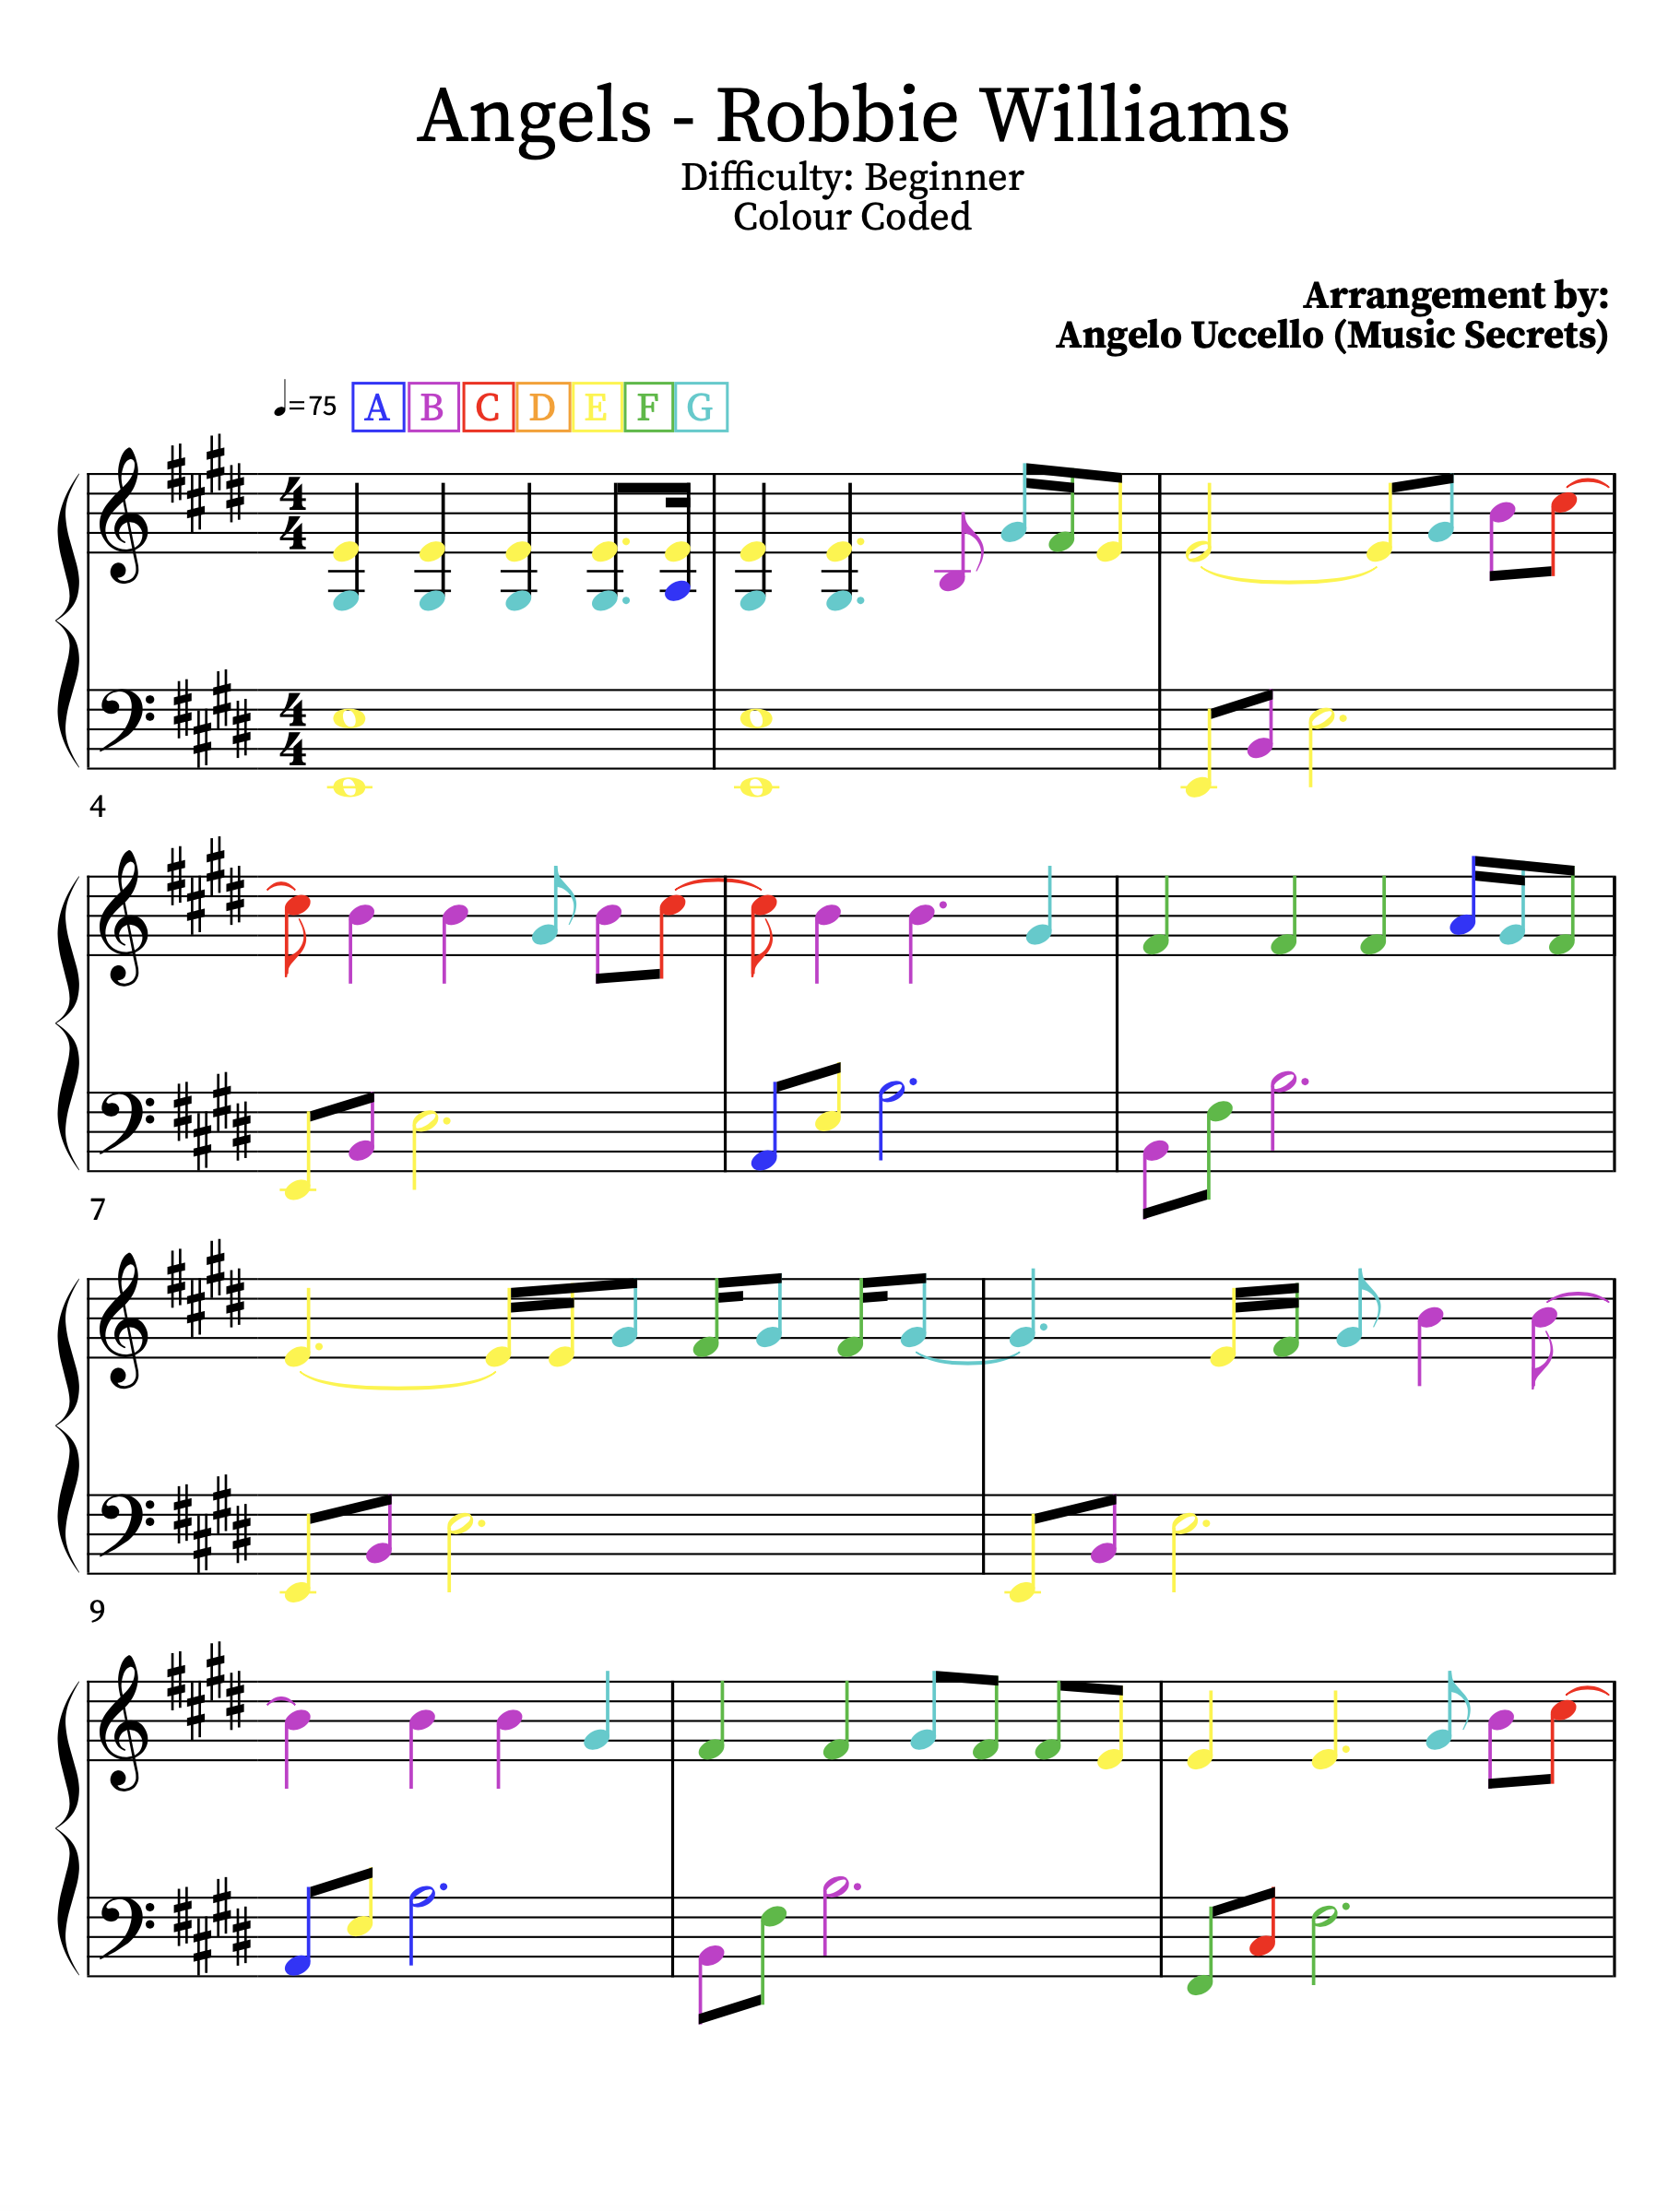
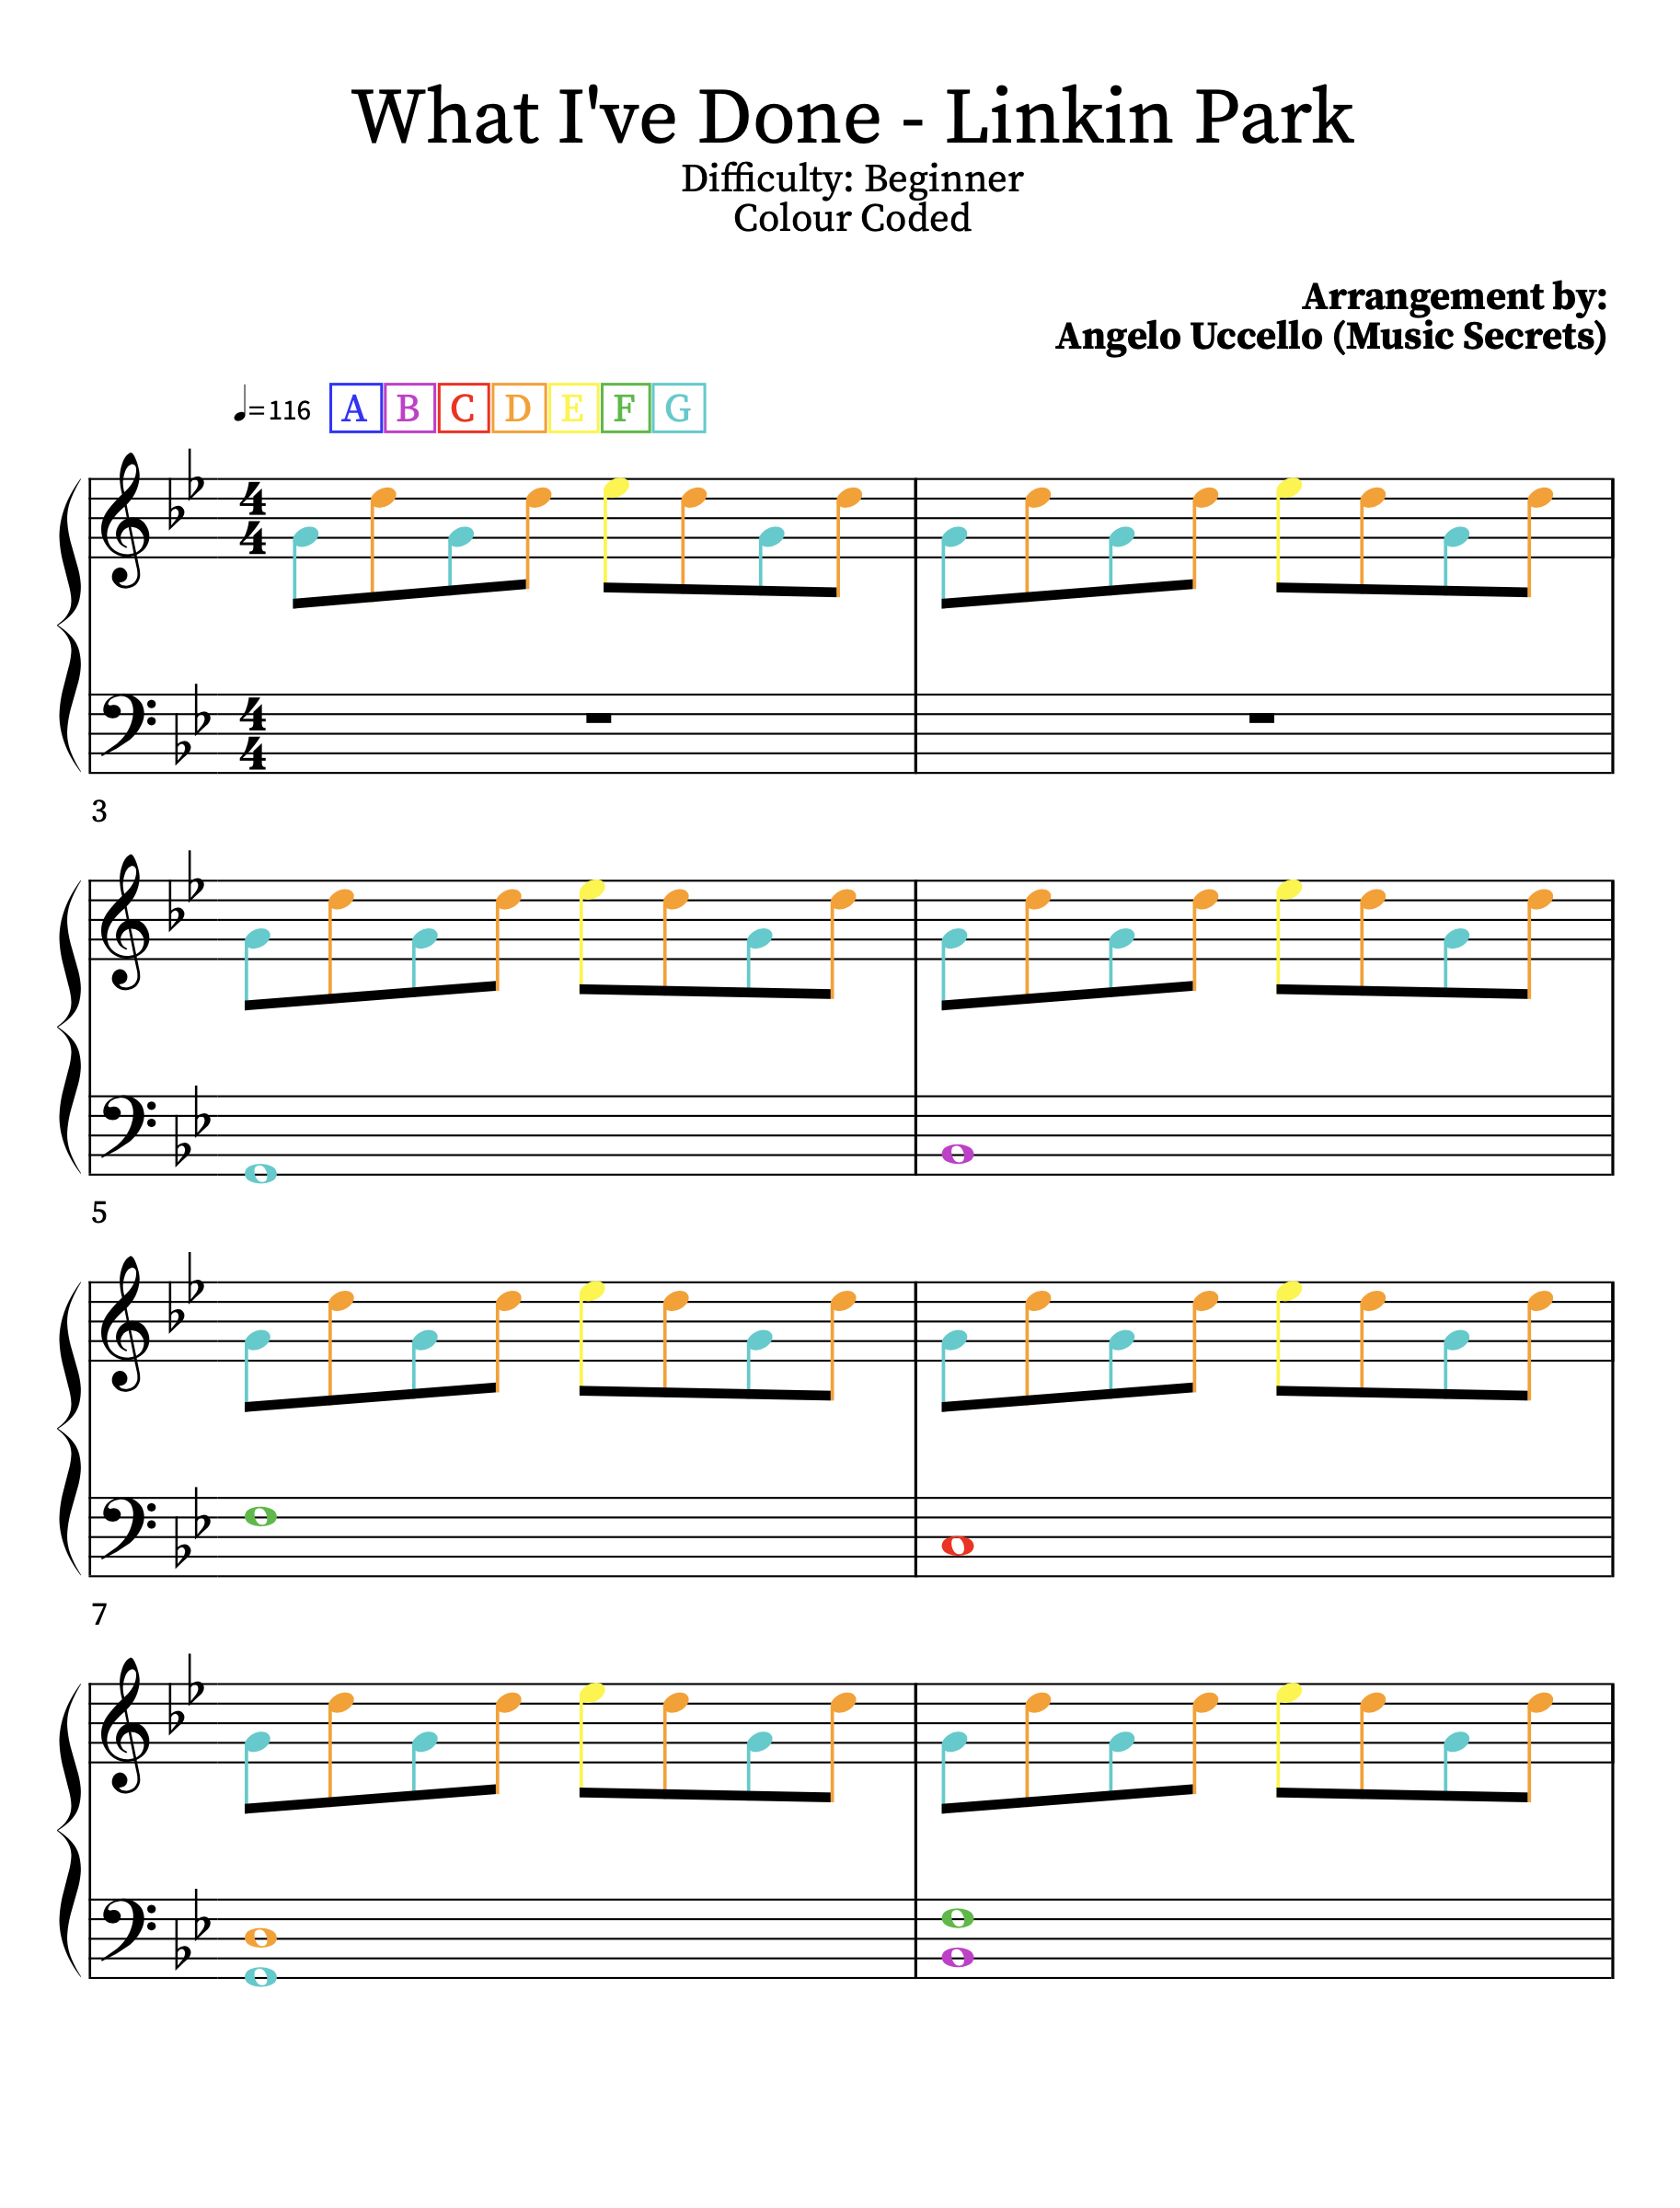
The music secrets & transferable skills this song teaches are…
•Root & Fifth Octaves - & how to transition between them smoothly.
•The easiest way to play a melody.
•How to recognise when a song repeats to make learning easier.
-

Level - ★
The music secrets & transferable skills this song teaches are…
•Root & Fifth Octaves - & how to transition between them smoothly.
•The easiest way to play a melody.
•How to recognise when a song repeats to make learning easier.
-
Level - ★
The music secrets & transferable skills this song teaches are…
•Root & Fifth Octaves - & how to transition between them smoothly.
•The easiest way to play a melody.
•How to recognise when a song repeats to make learning easier.
-

Level - ★
The music secrets & transferable skills this song teaches are…
•Root & Fifth Octaves - & how to transition between them smoothly.
•The easiest way to play a melody.
•How to recognise when a song repeats to make learning easier.
-
Level - ★
The music secrets & transferable skills this song teaches are…
•Root & Fifth Octaves - & how to transition between them smoothly.
•The easiest way to play a melody.
•How to recognise when a song repeats to make learning easier.
-

Level - ★
The music secrets & transferable skills this song teaches are…
•Root & Fifth Octaves - & how to transition between them smoothly.
•The easiest way to play a melody.
•How to recognise when a song repeats to make learning easier.
-

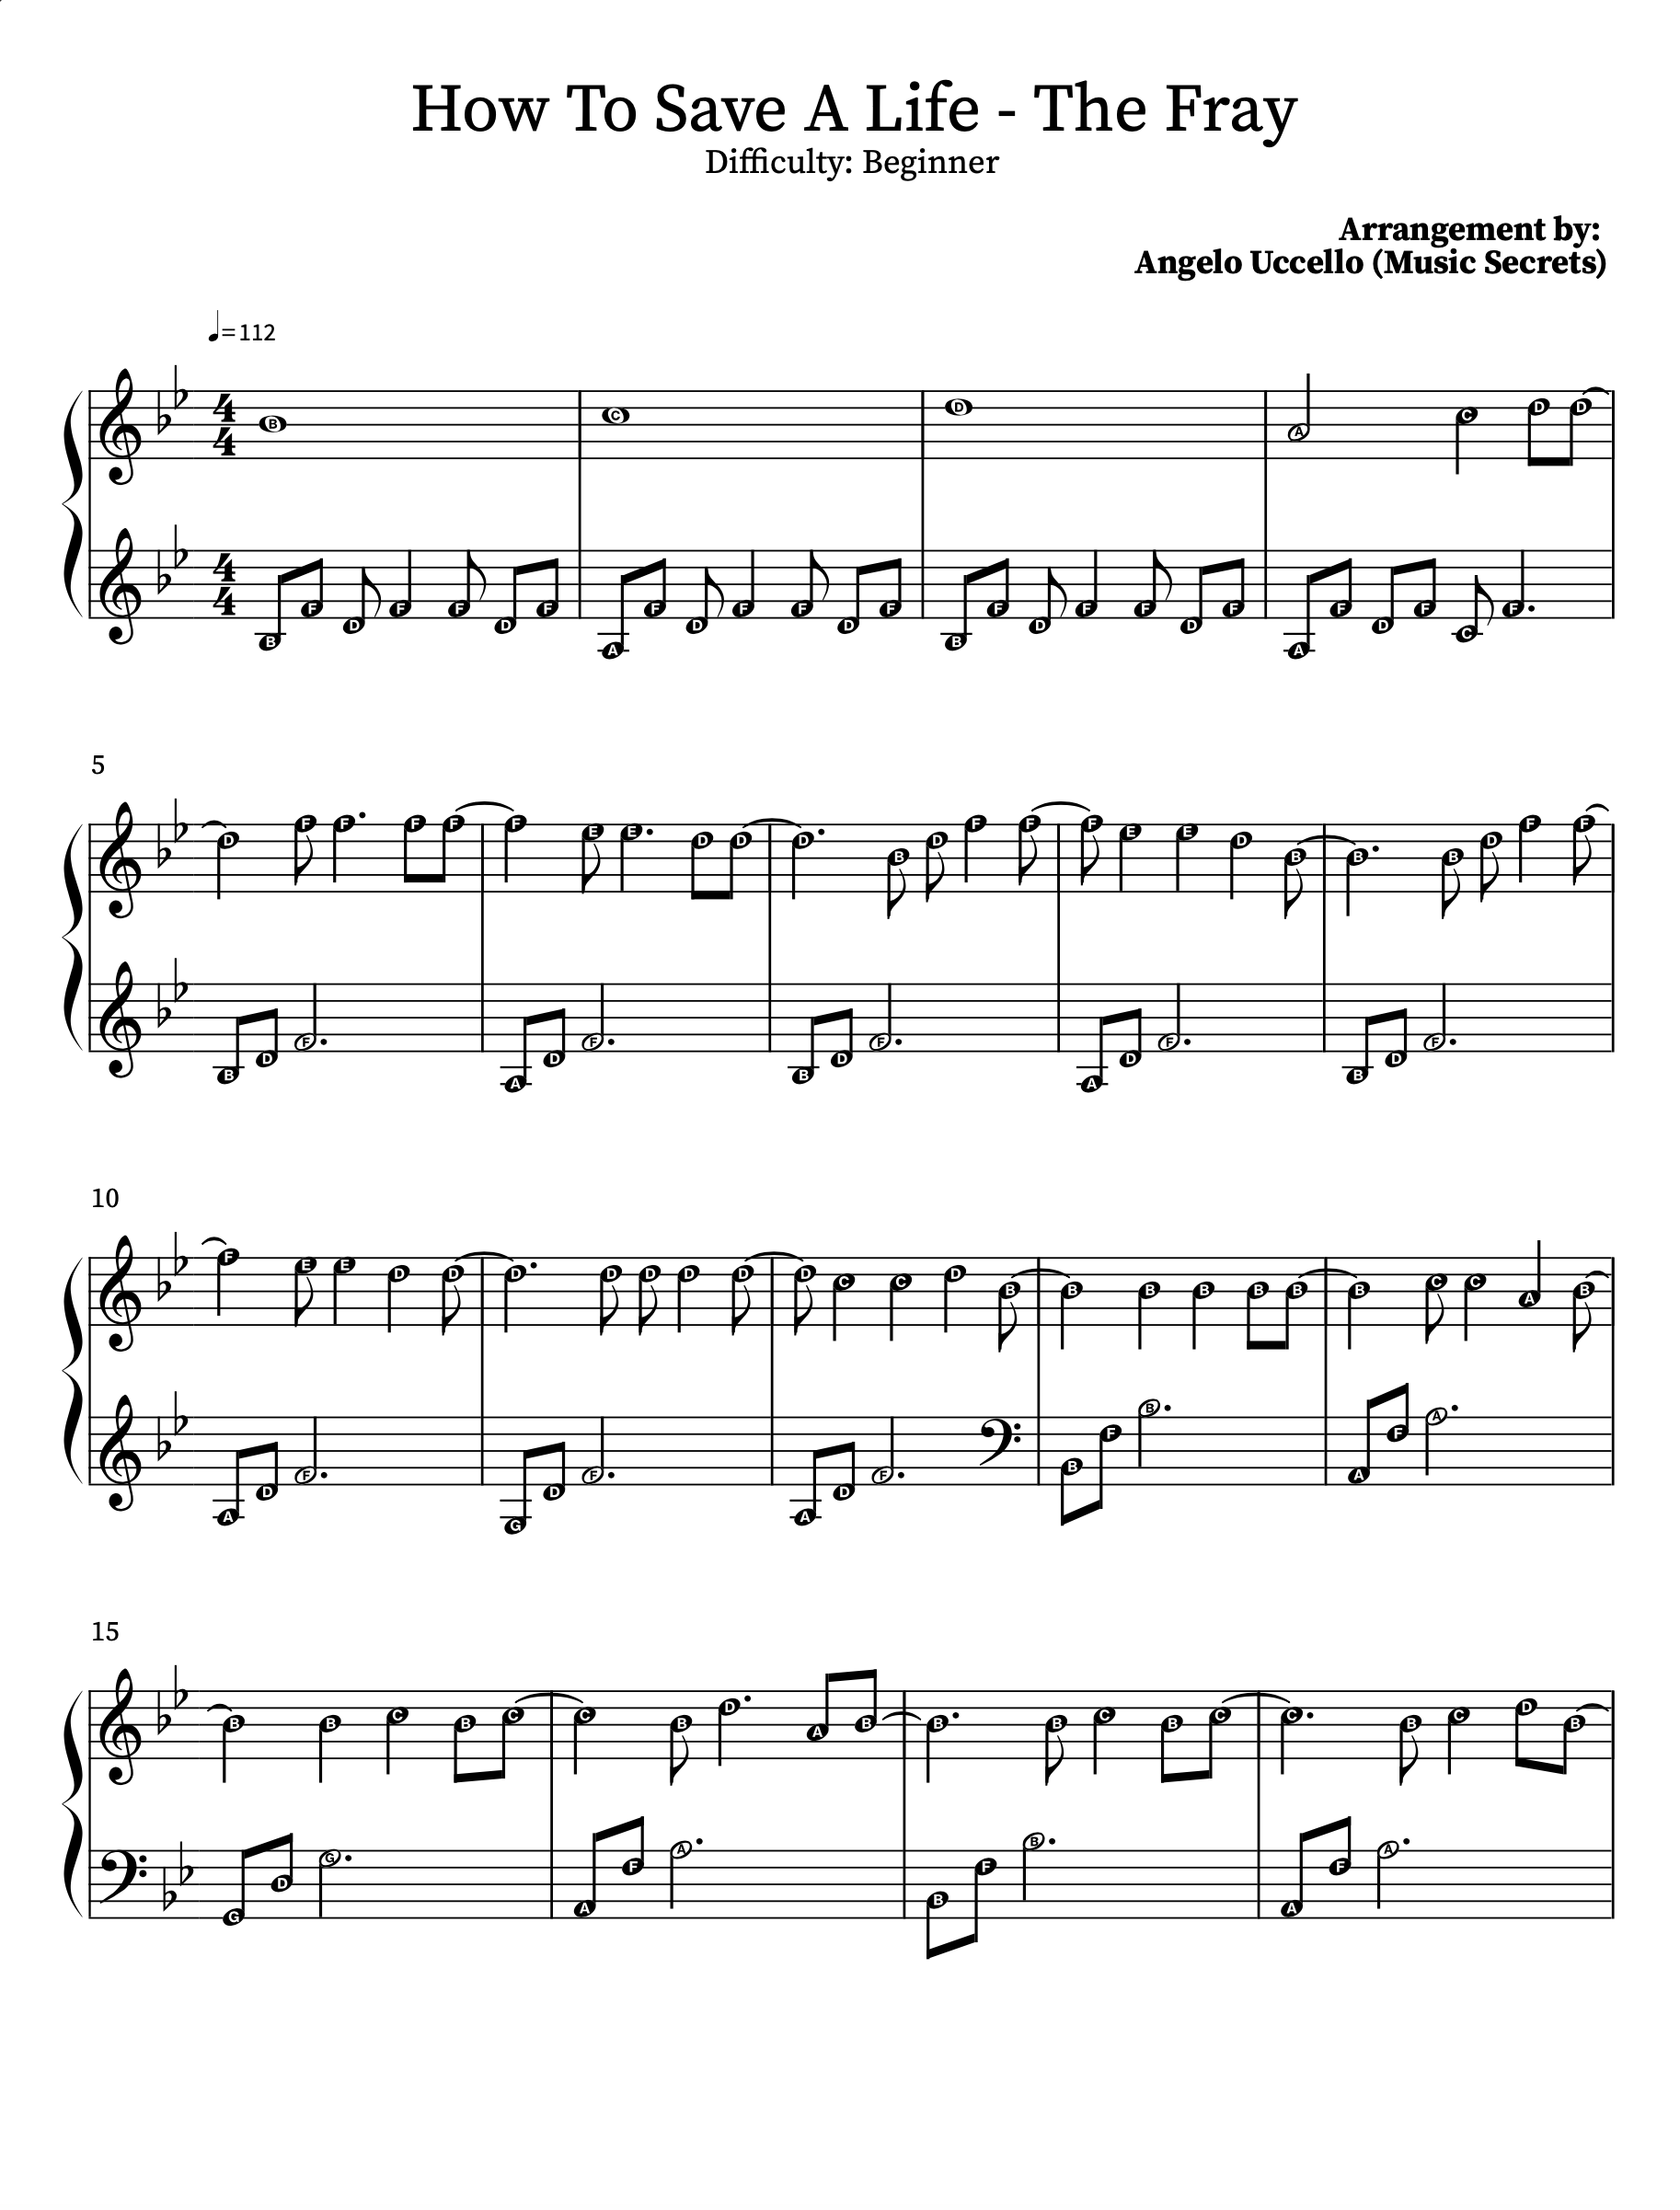
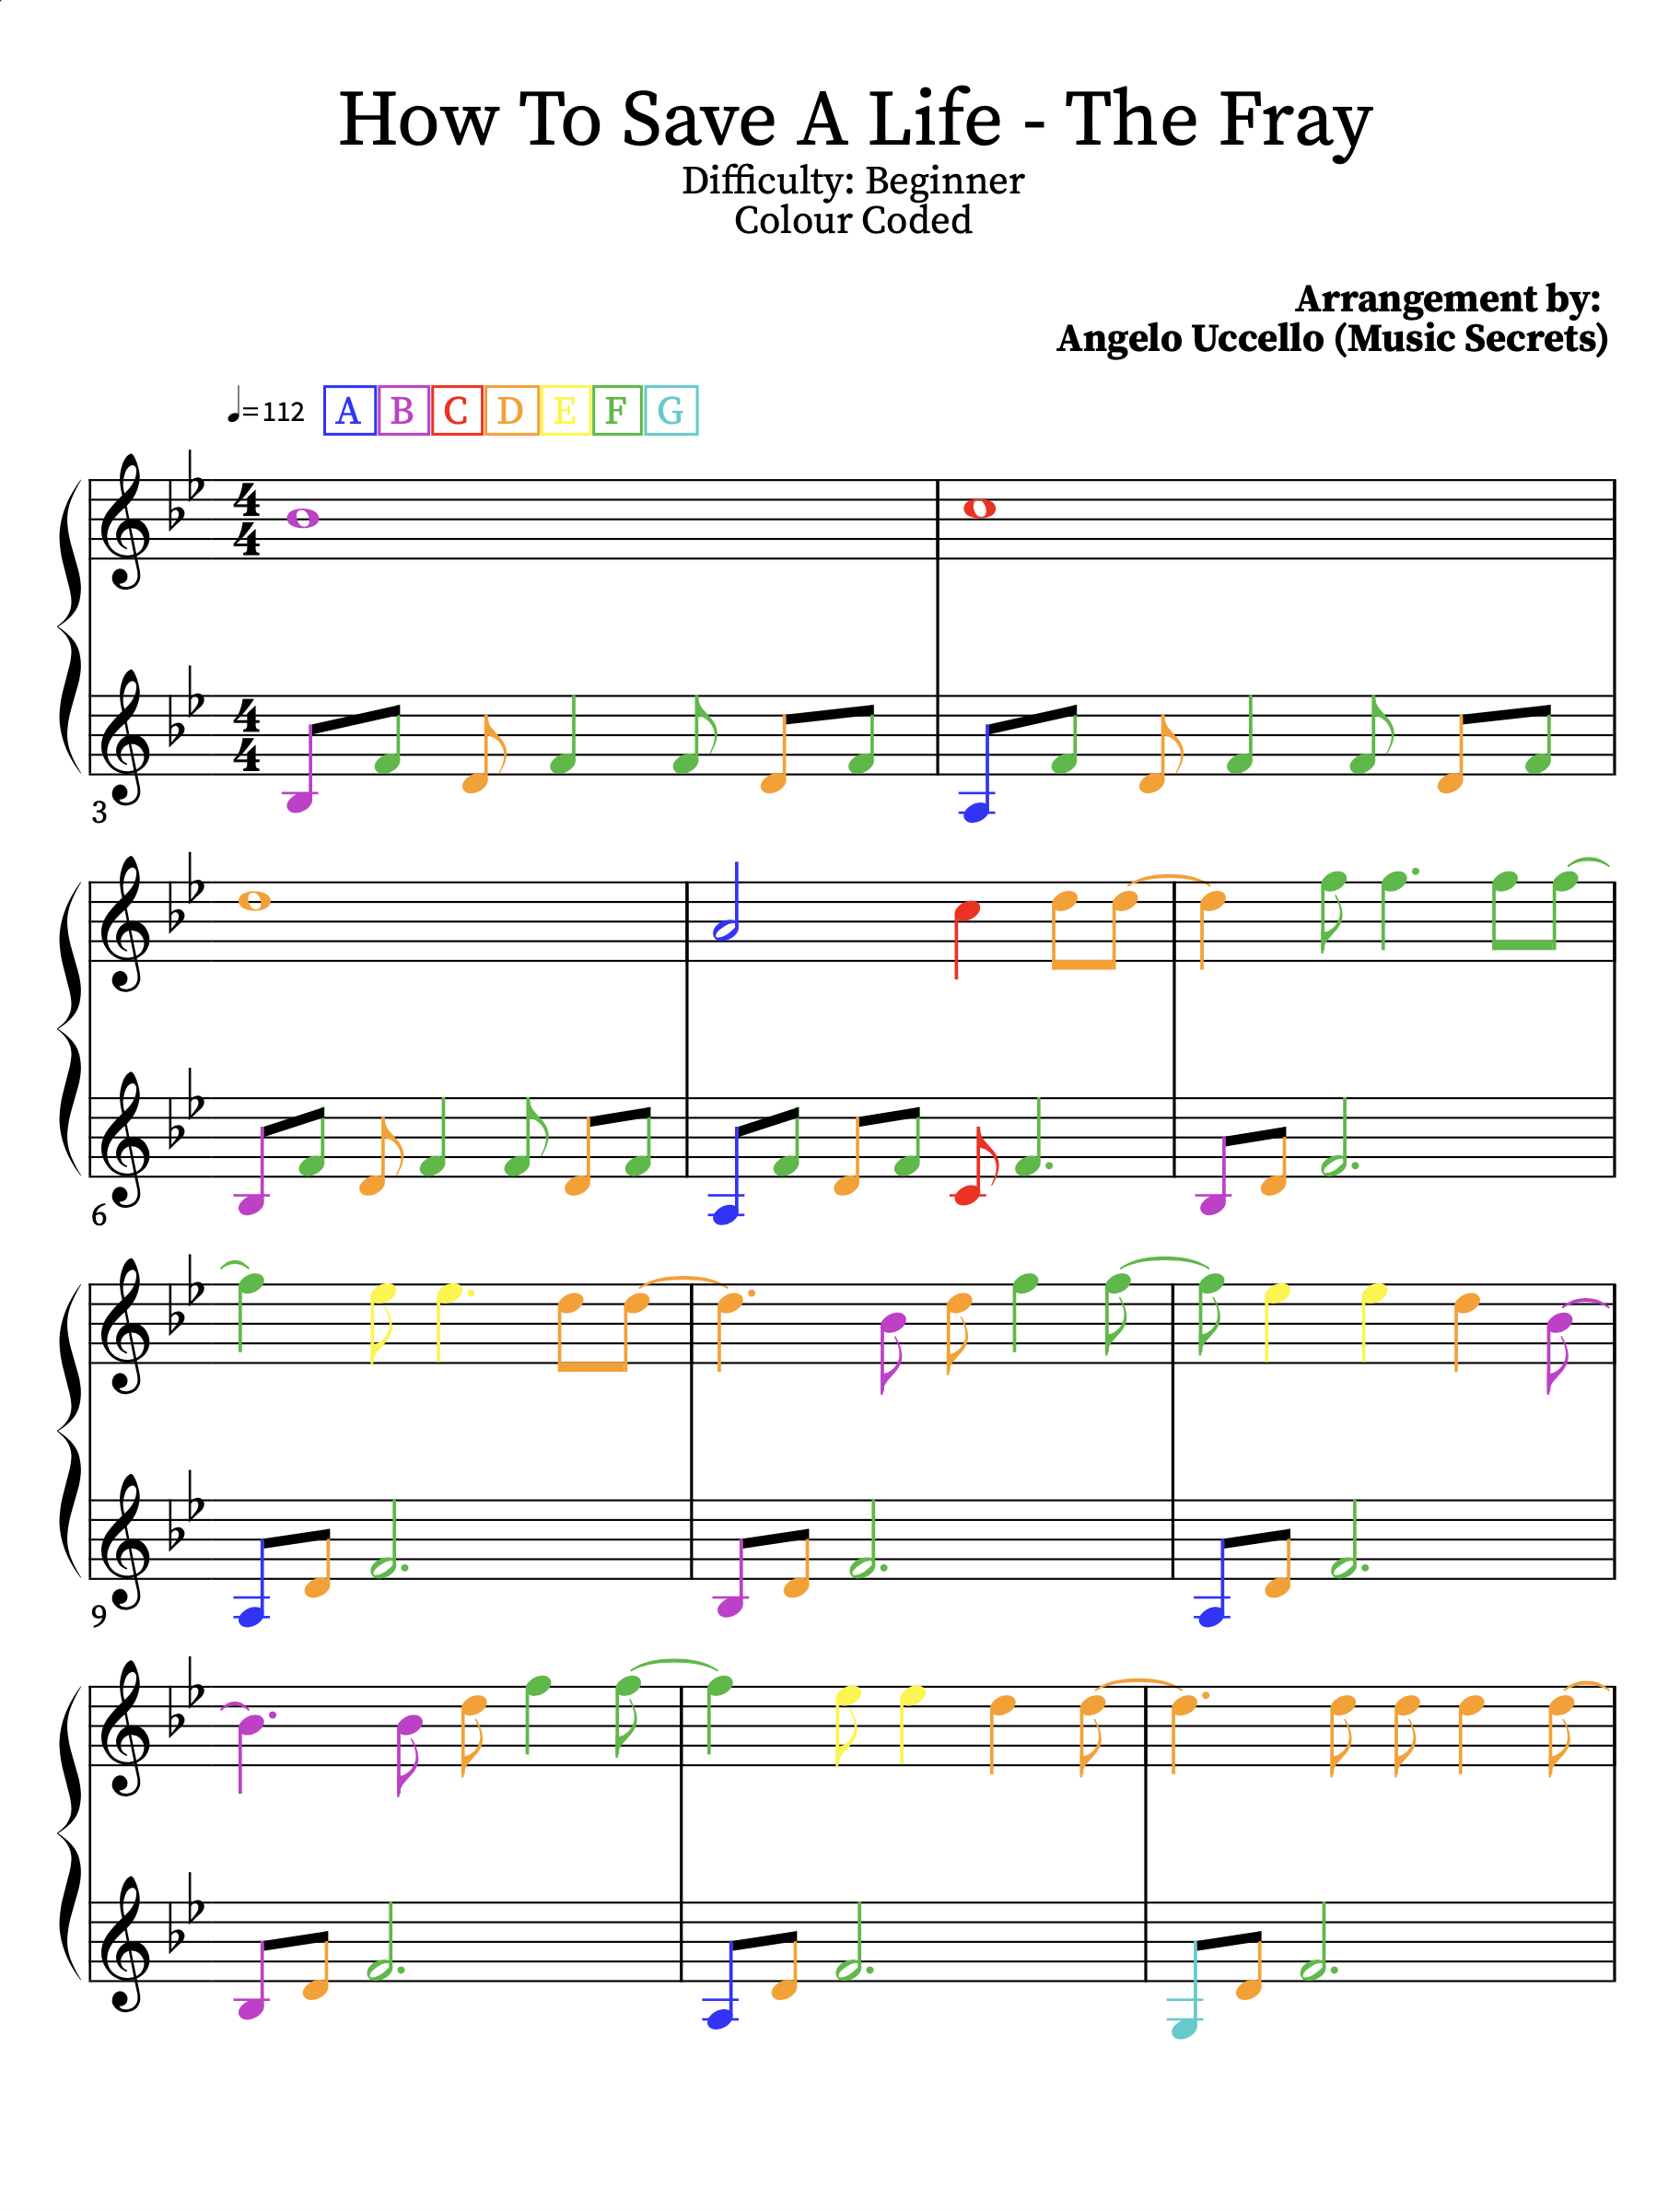
Level - ★★
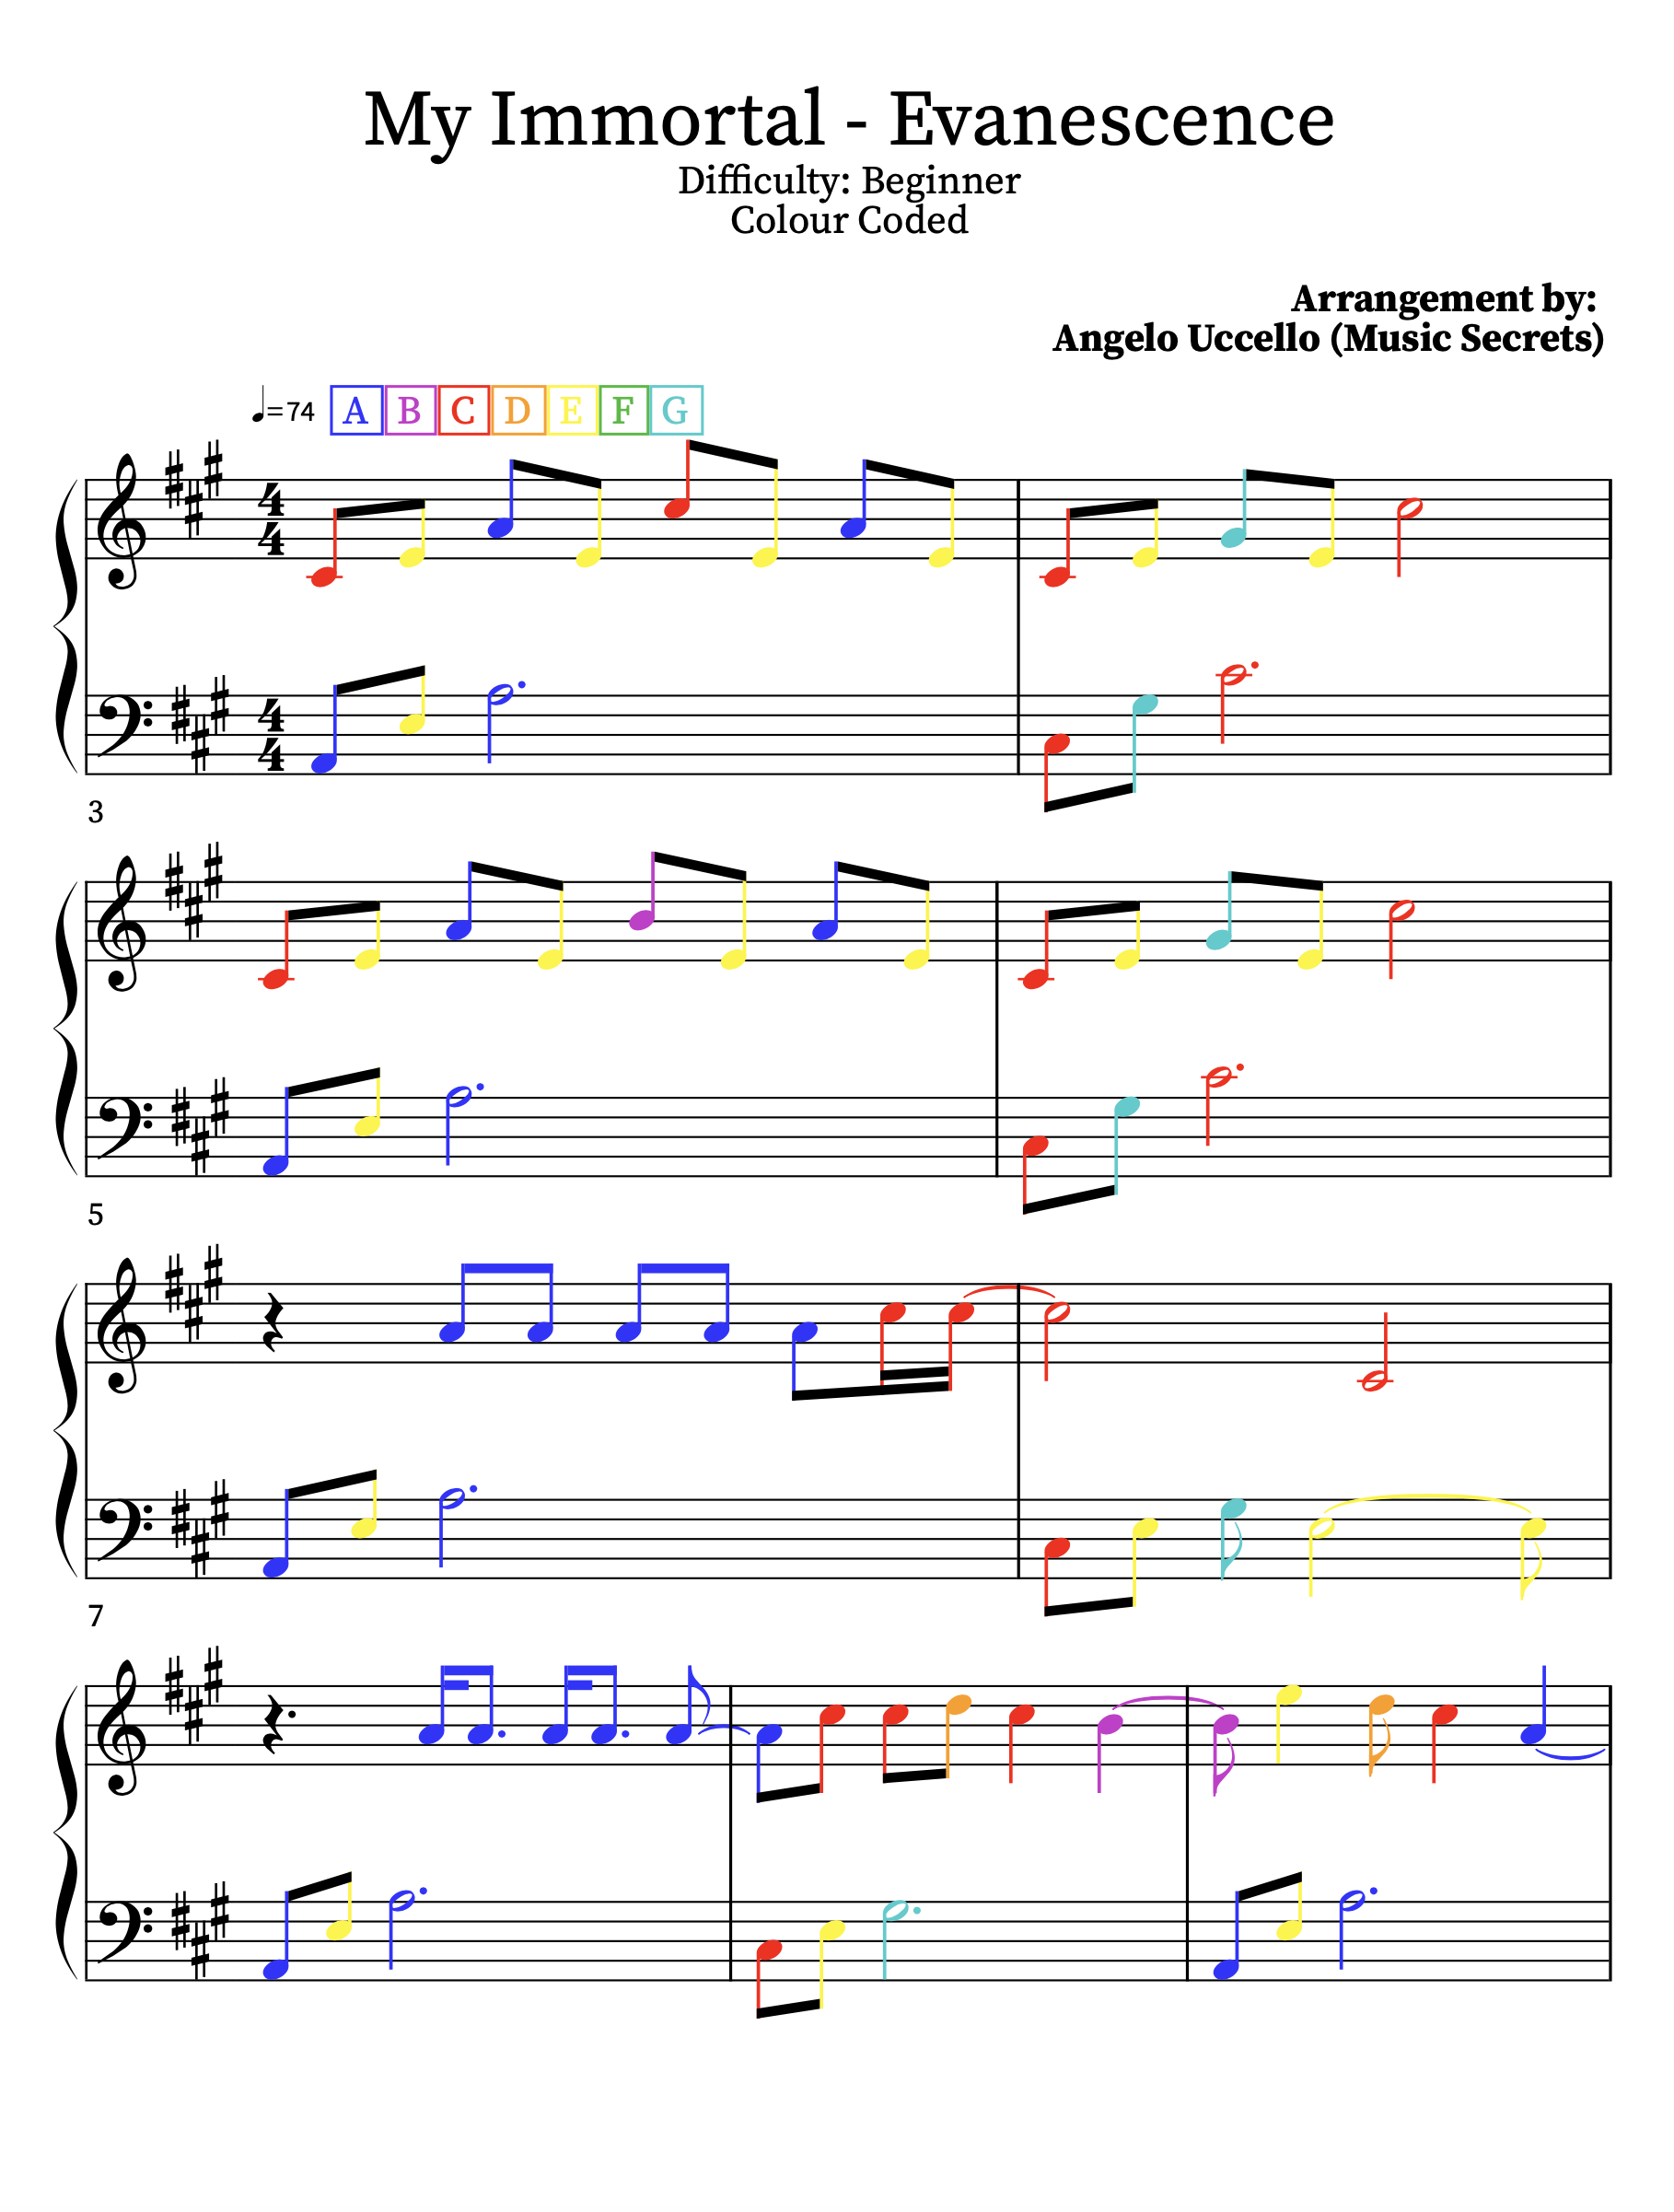
The music secrets & transferable skills this song teaches are…
● Roots & Fifth Octaves - & how to transition between them smoothly.
● The easiest way to play a melody.
● How to make learning easier by recognising repeats.
● An introduction to 16th notes.
-
Level - ★★
The music secrets & transferable skills this song teaches are…
● Roots & Fifth Octaves - & how to transition between them smoothly.
● The easiest way to play a melody.
● How to make learning easier by recognising repeats.
● An introduction to 16th notes.
-

Level - ★★
The music secrets & transferable skills this song teaches are…
● Roots & Fifth Octaves - & how to transition between them smoothly.
● How to play Root & Fifth as a chord rather than merely in succession.
● The easiest way to play a melody.
● How to make learning easier by recognising repeats.
● An introduction to 16th notes.
-
Level - ★★
The music secrets & transferable skills this song teaches are…
●Roots & Fifth Octaves - & how to transition between them smoothly.
●How to play Root & Fifth as a chord rather than merely in succession.
●The easiest way to play a melody.
●How to make learning easier by recognising repeats.
●An introduction to 16th notes.
-
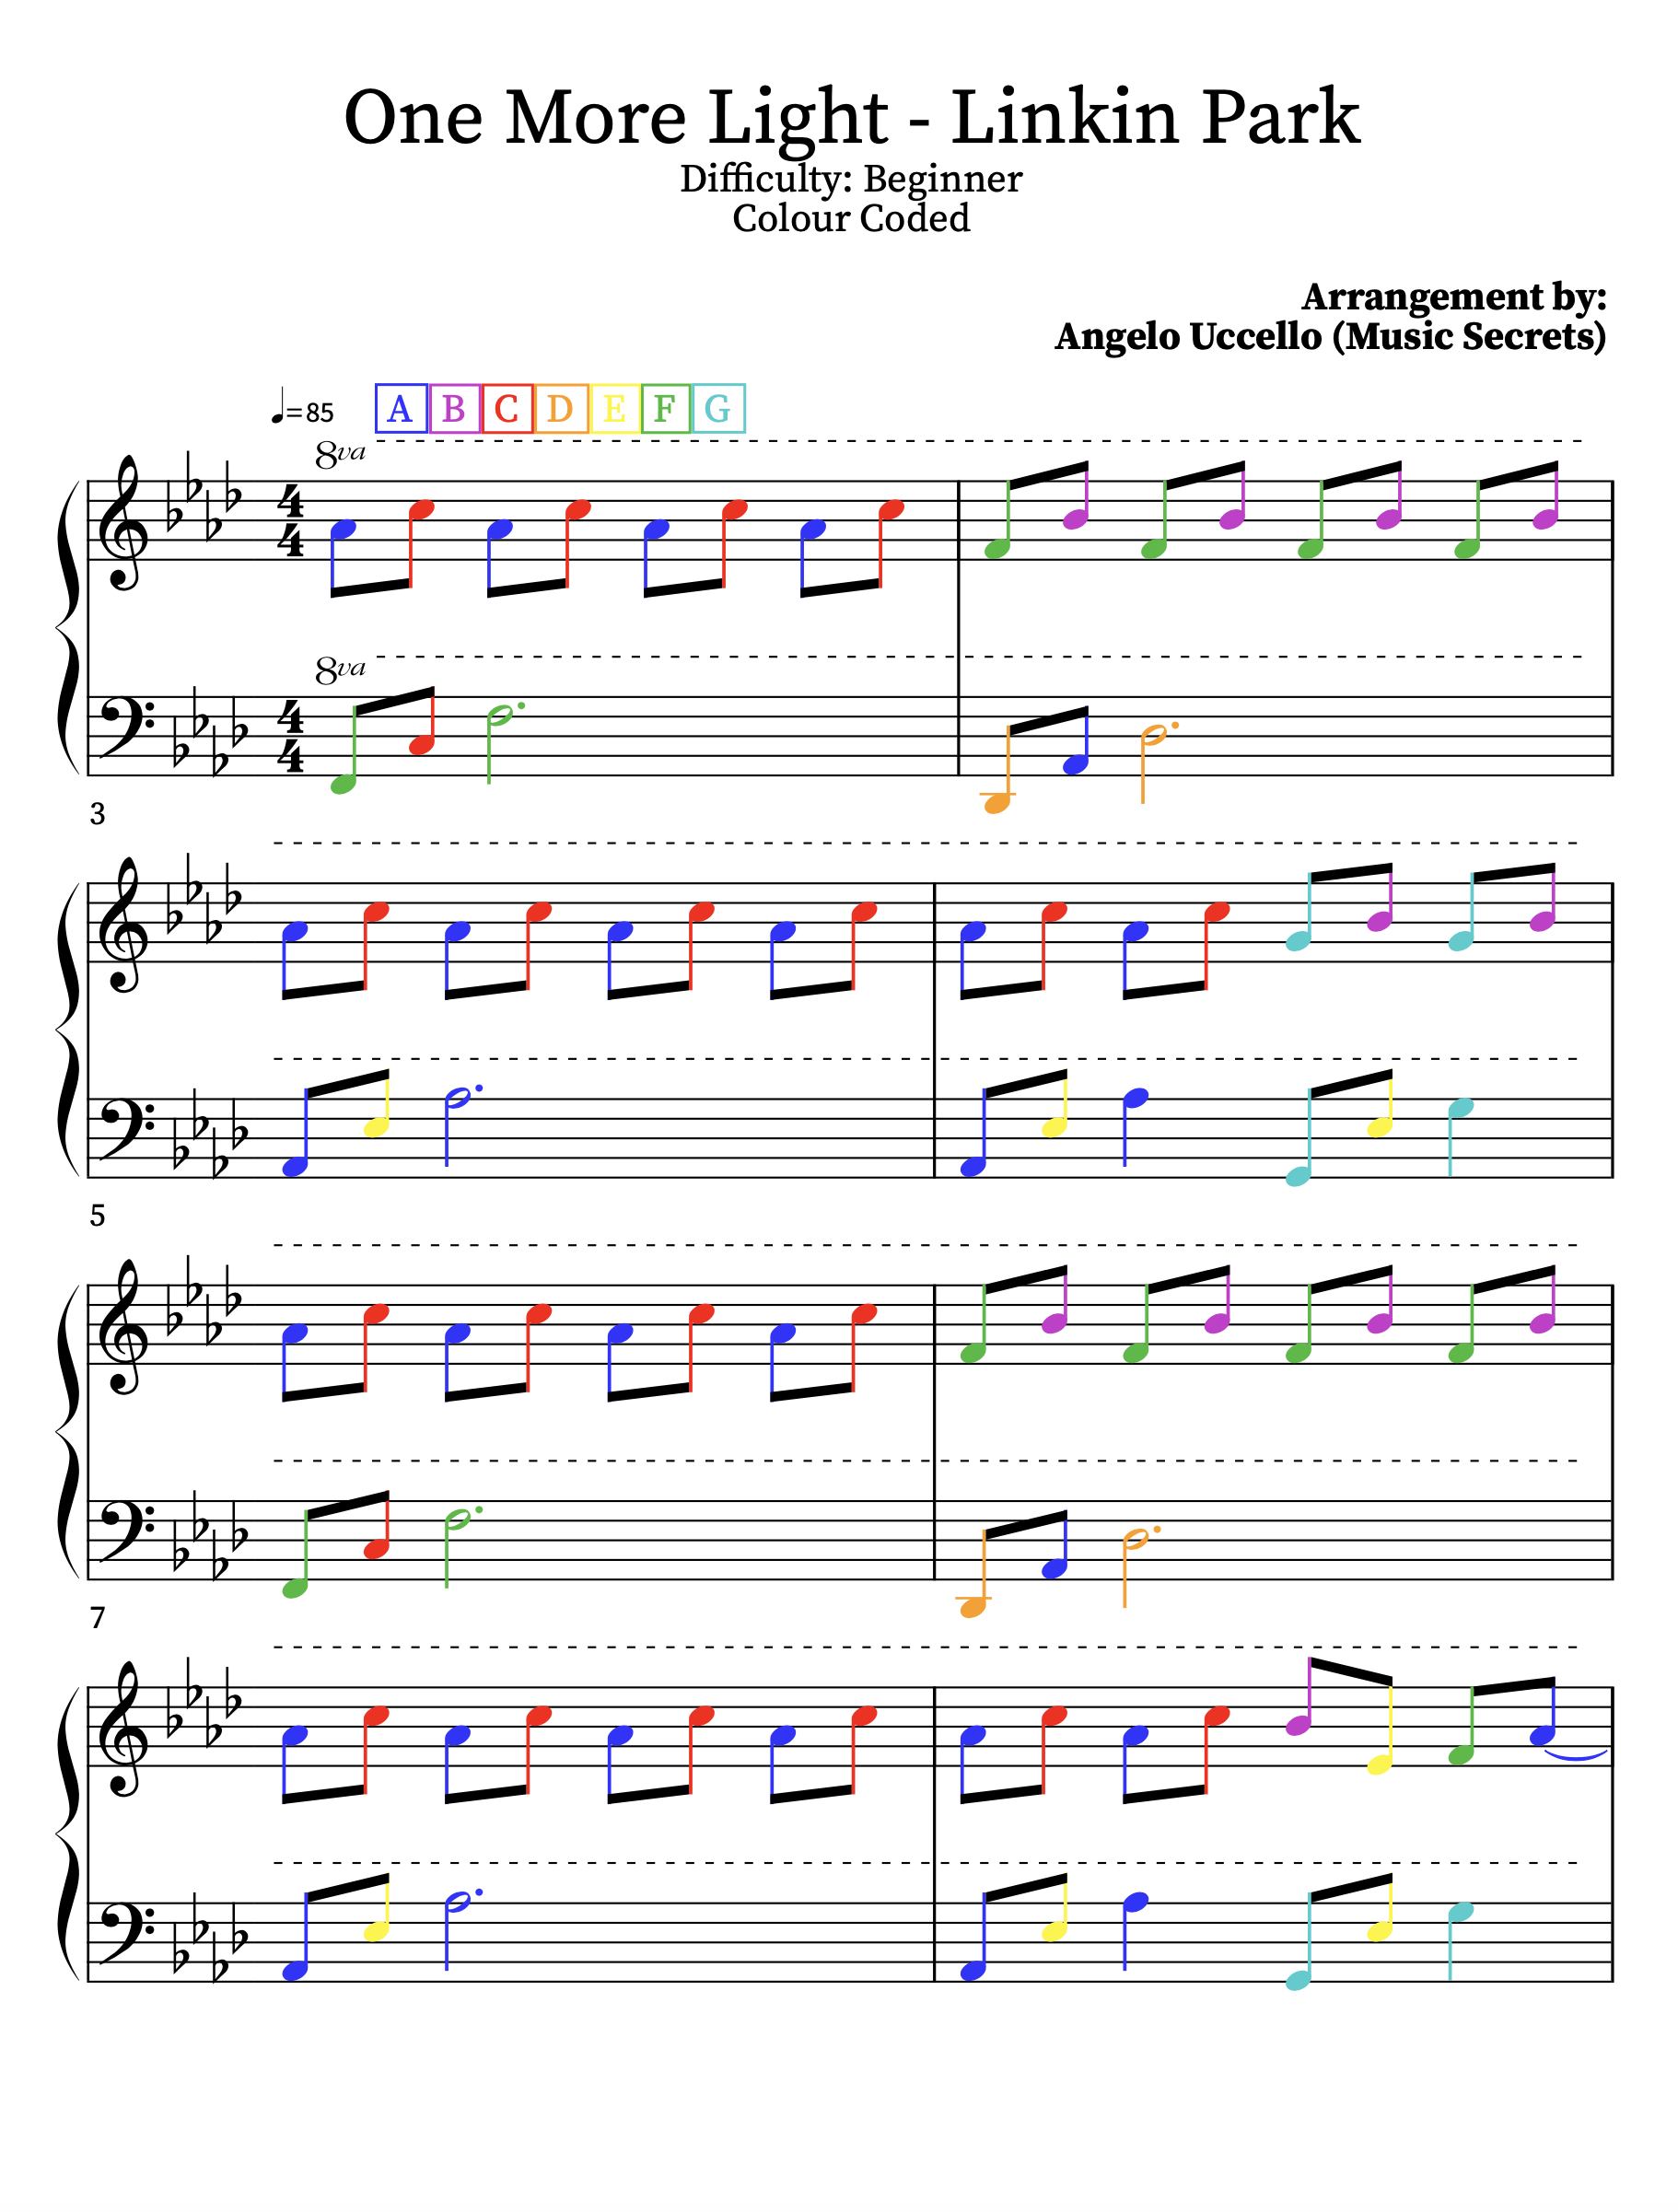
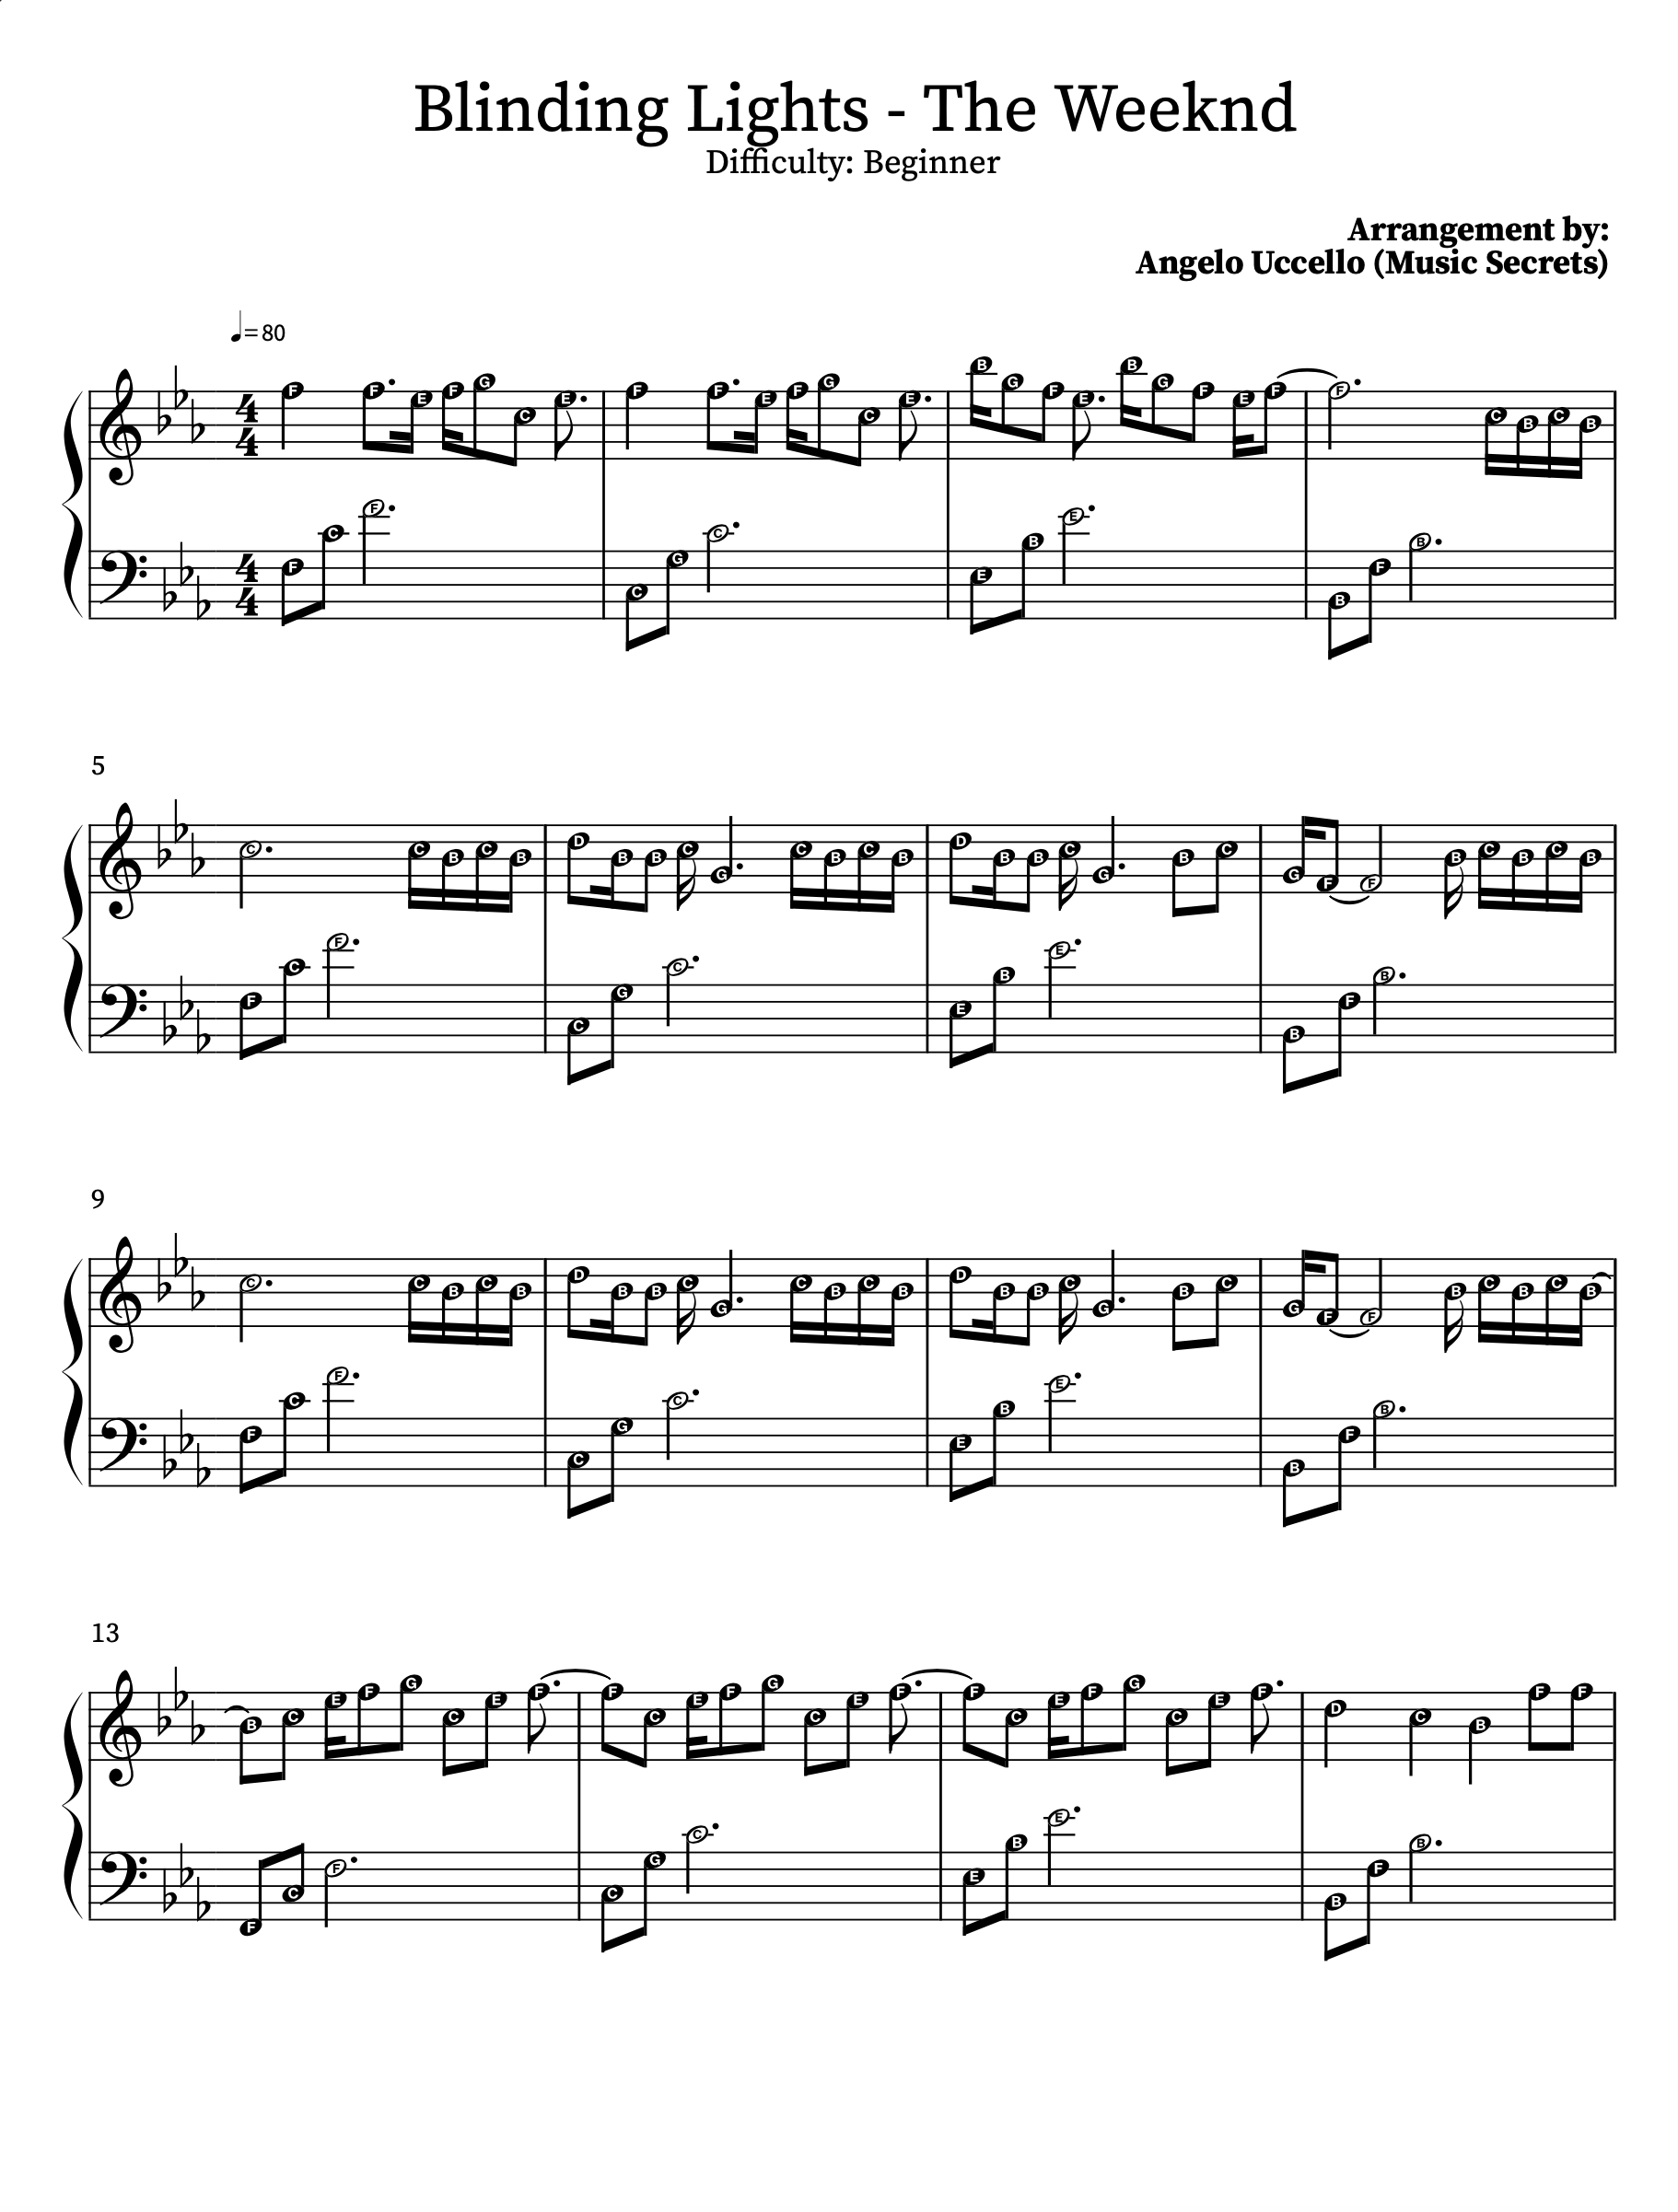
Level - ★★★
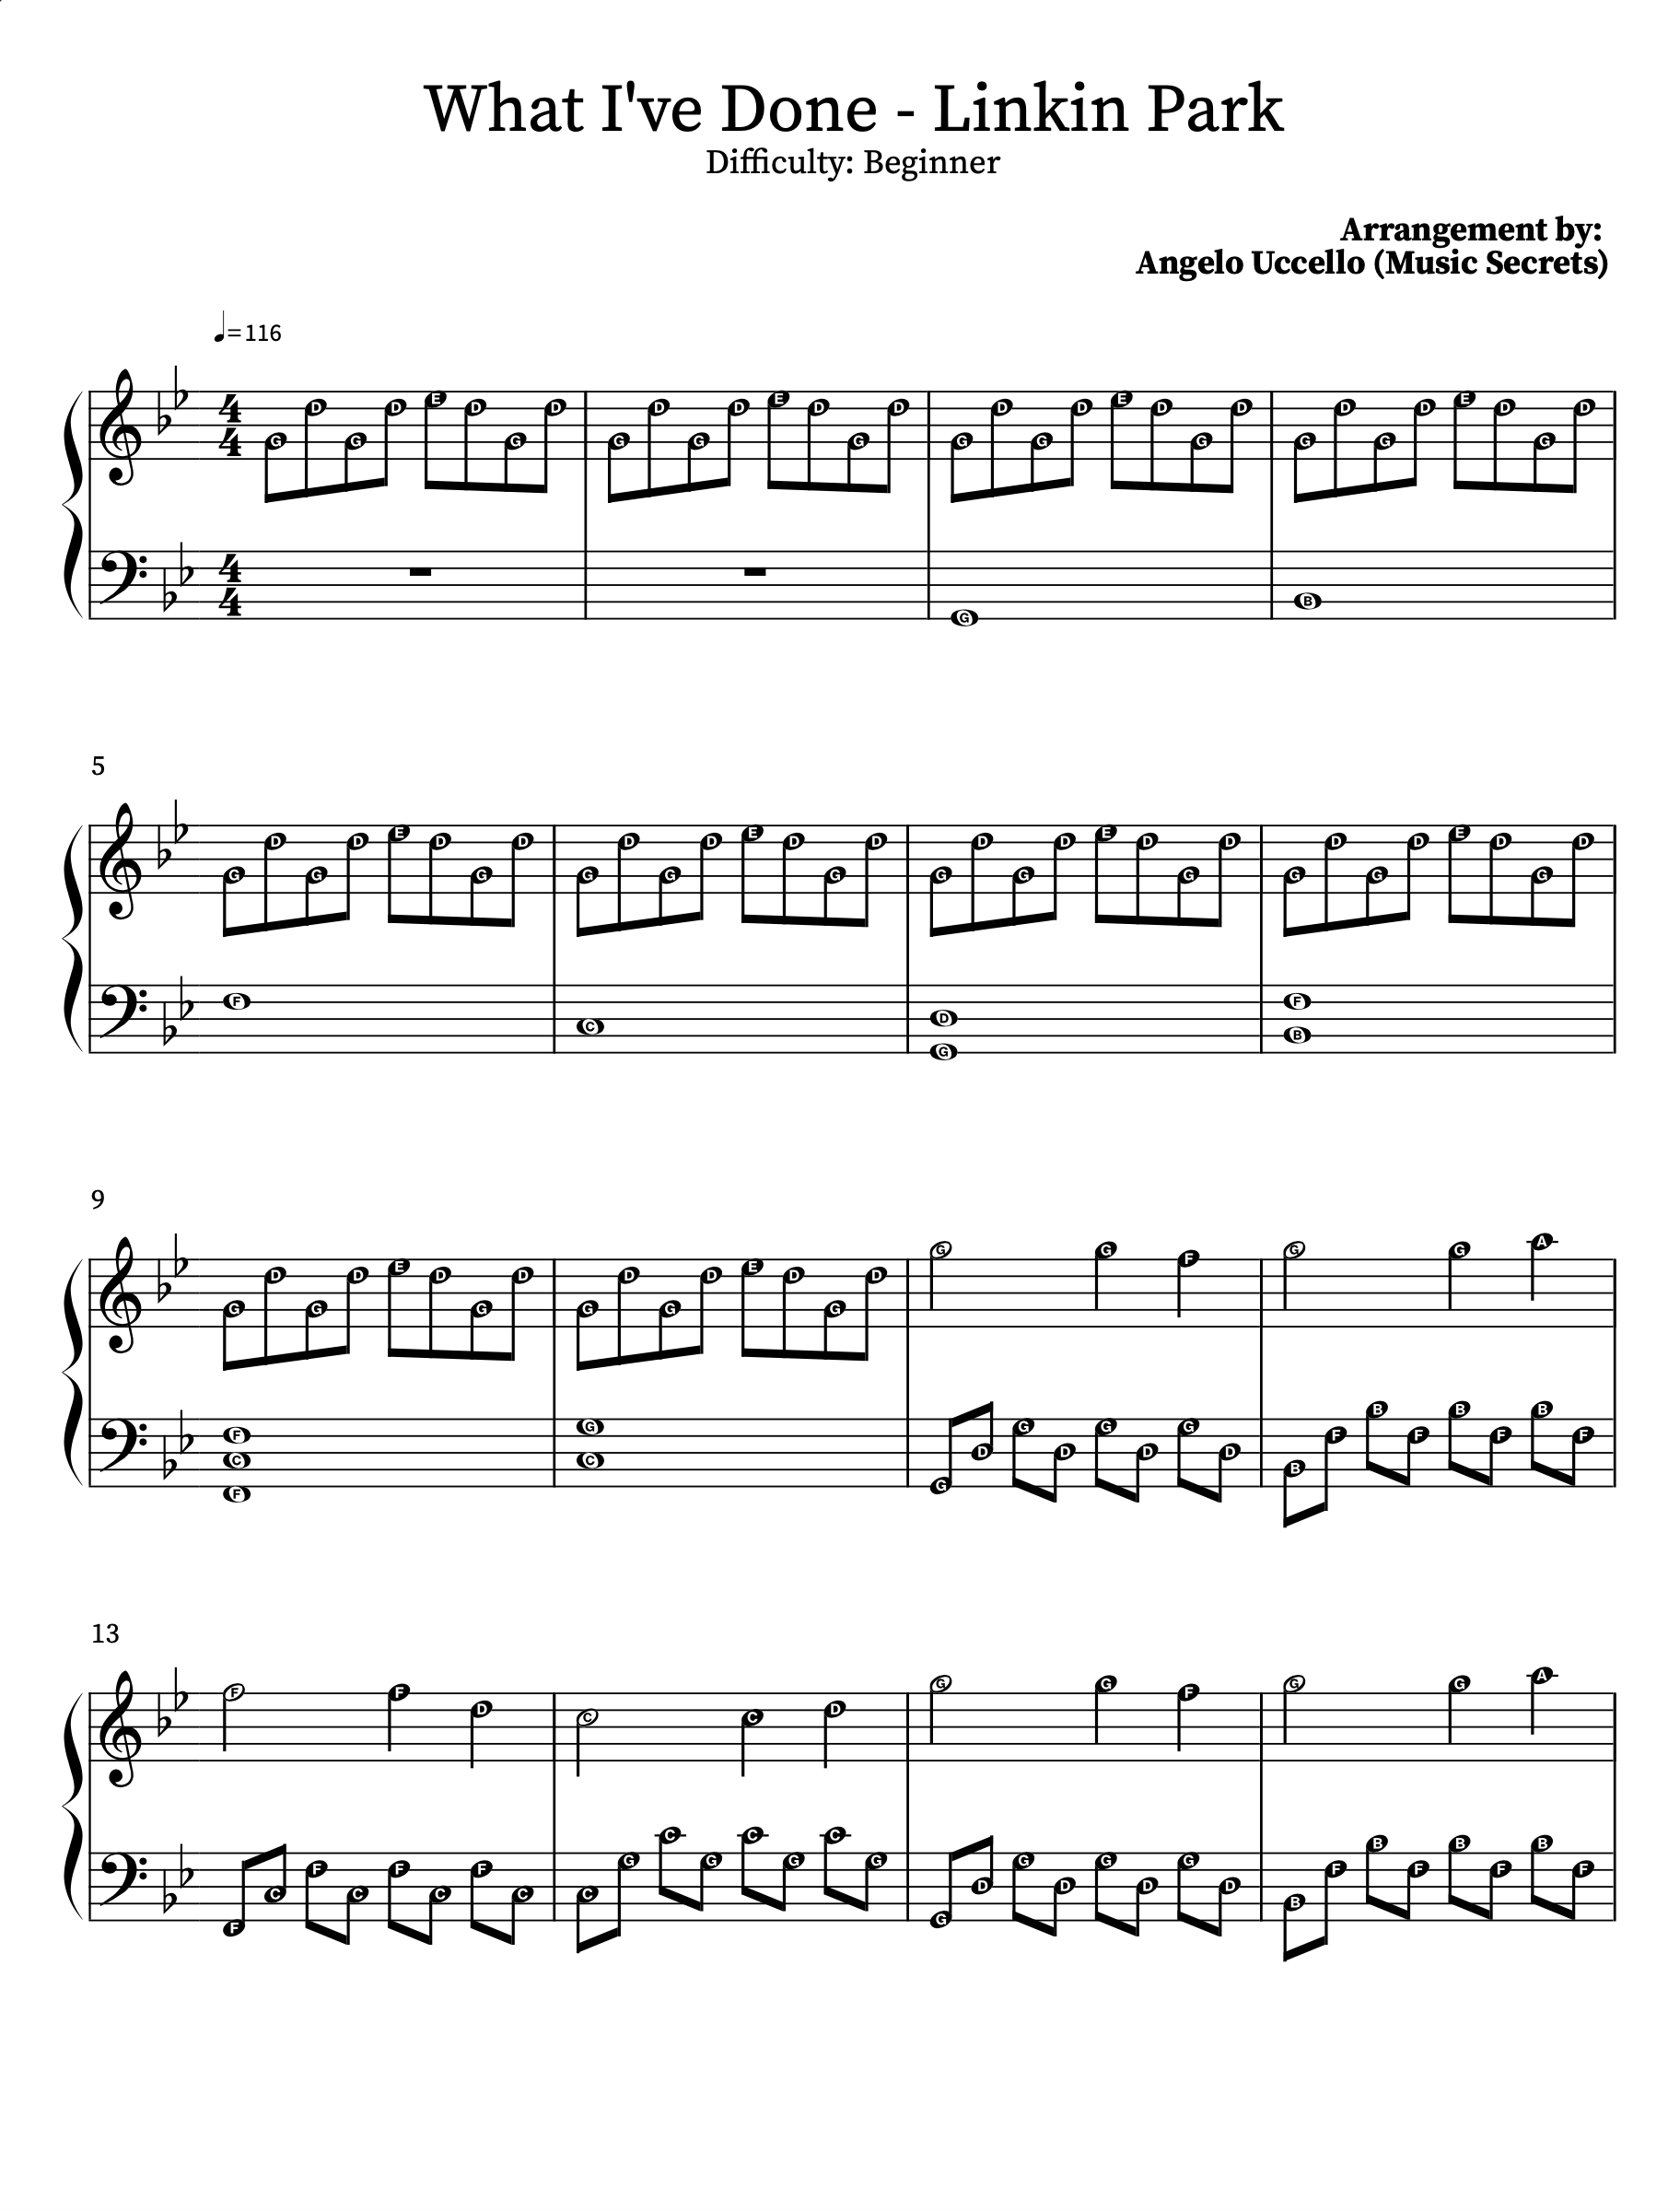
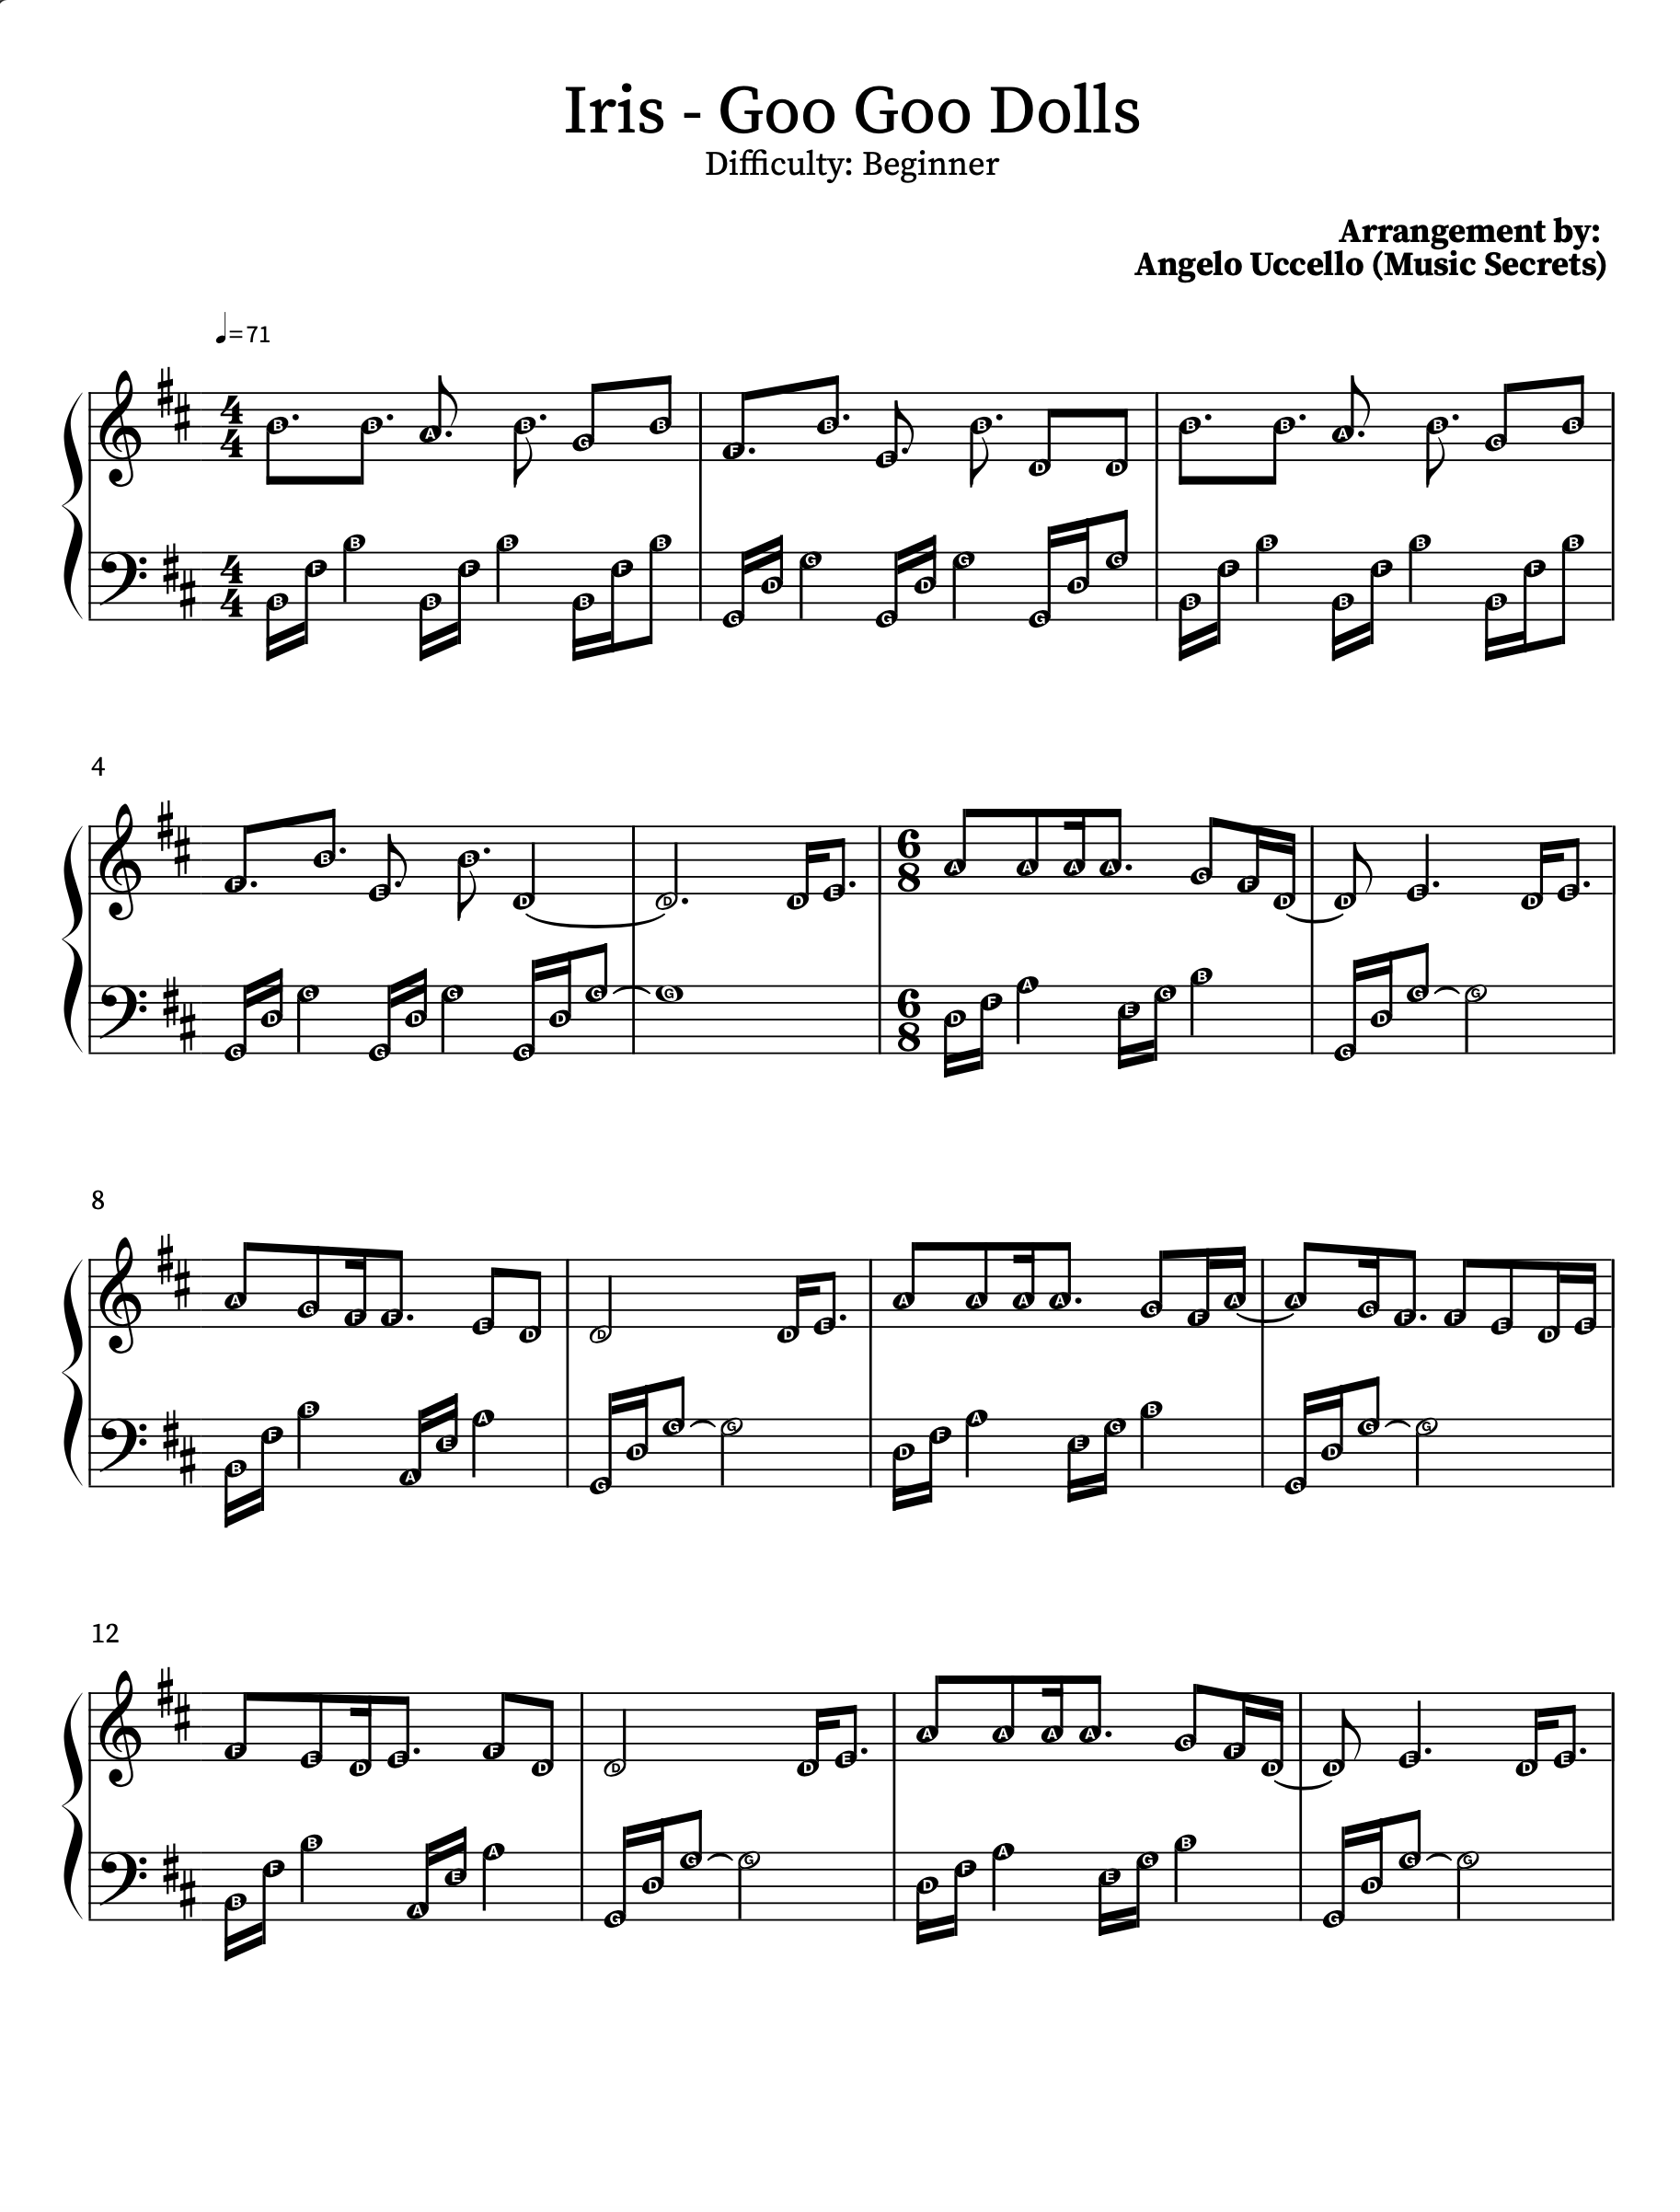
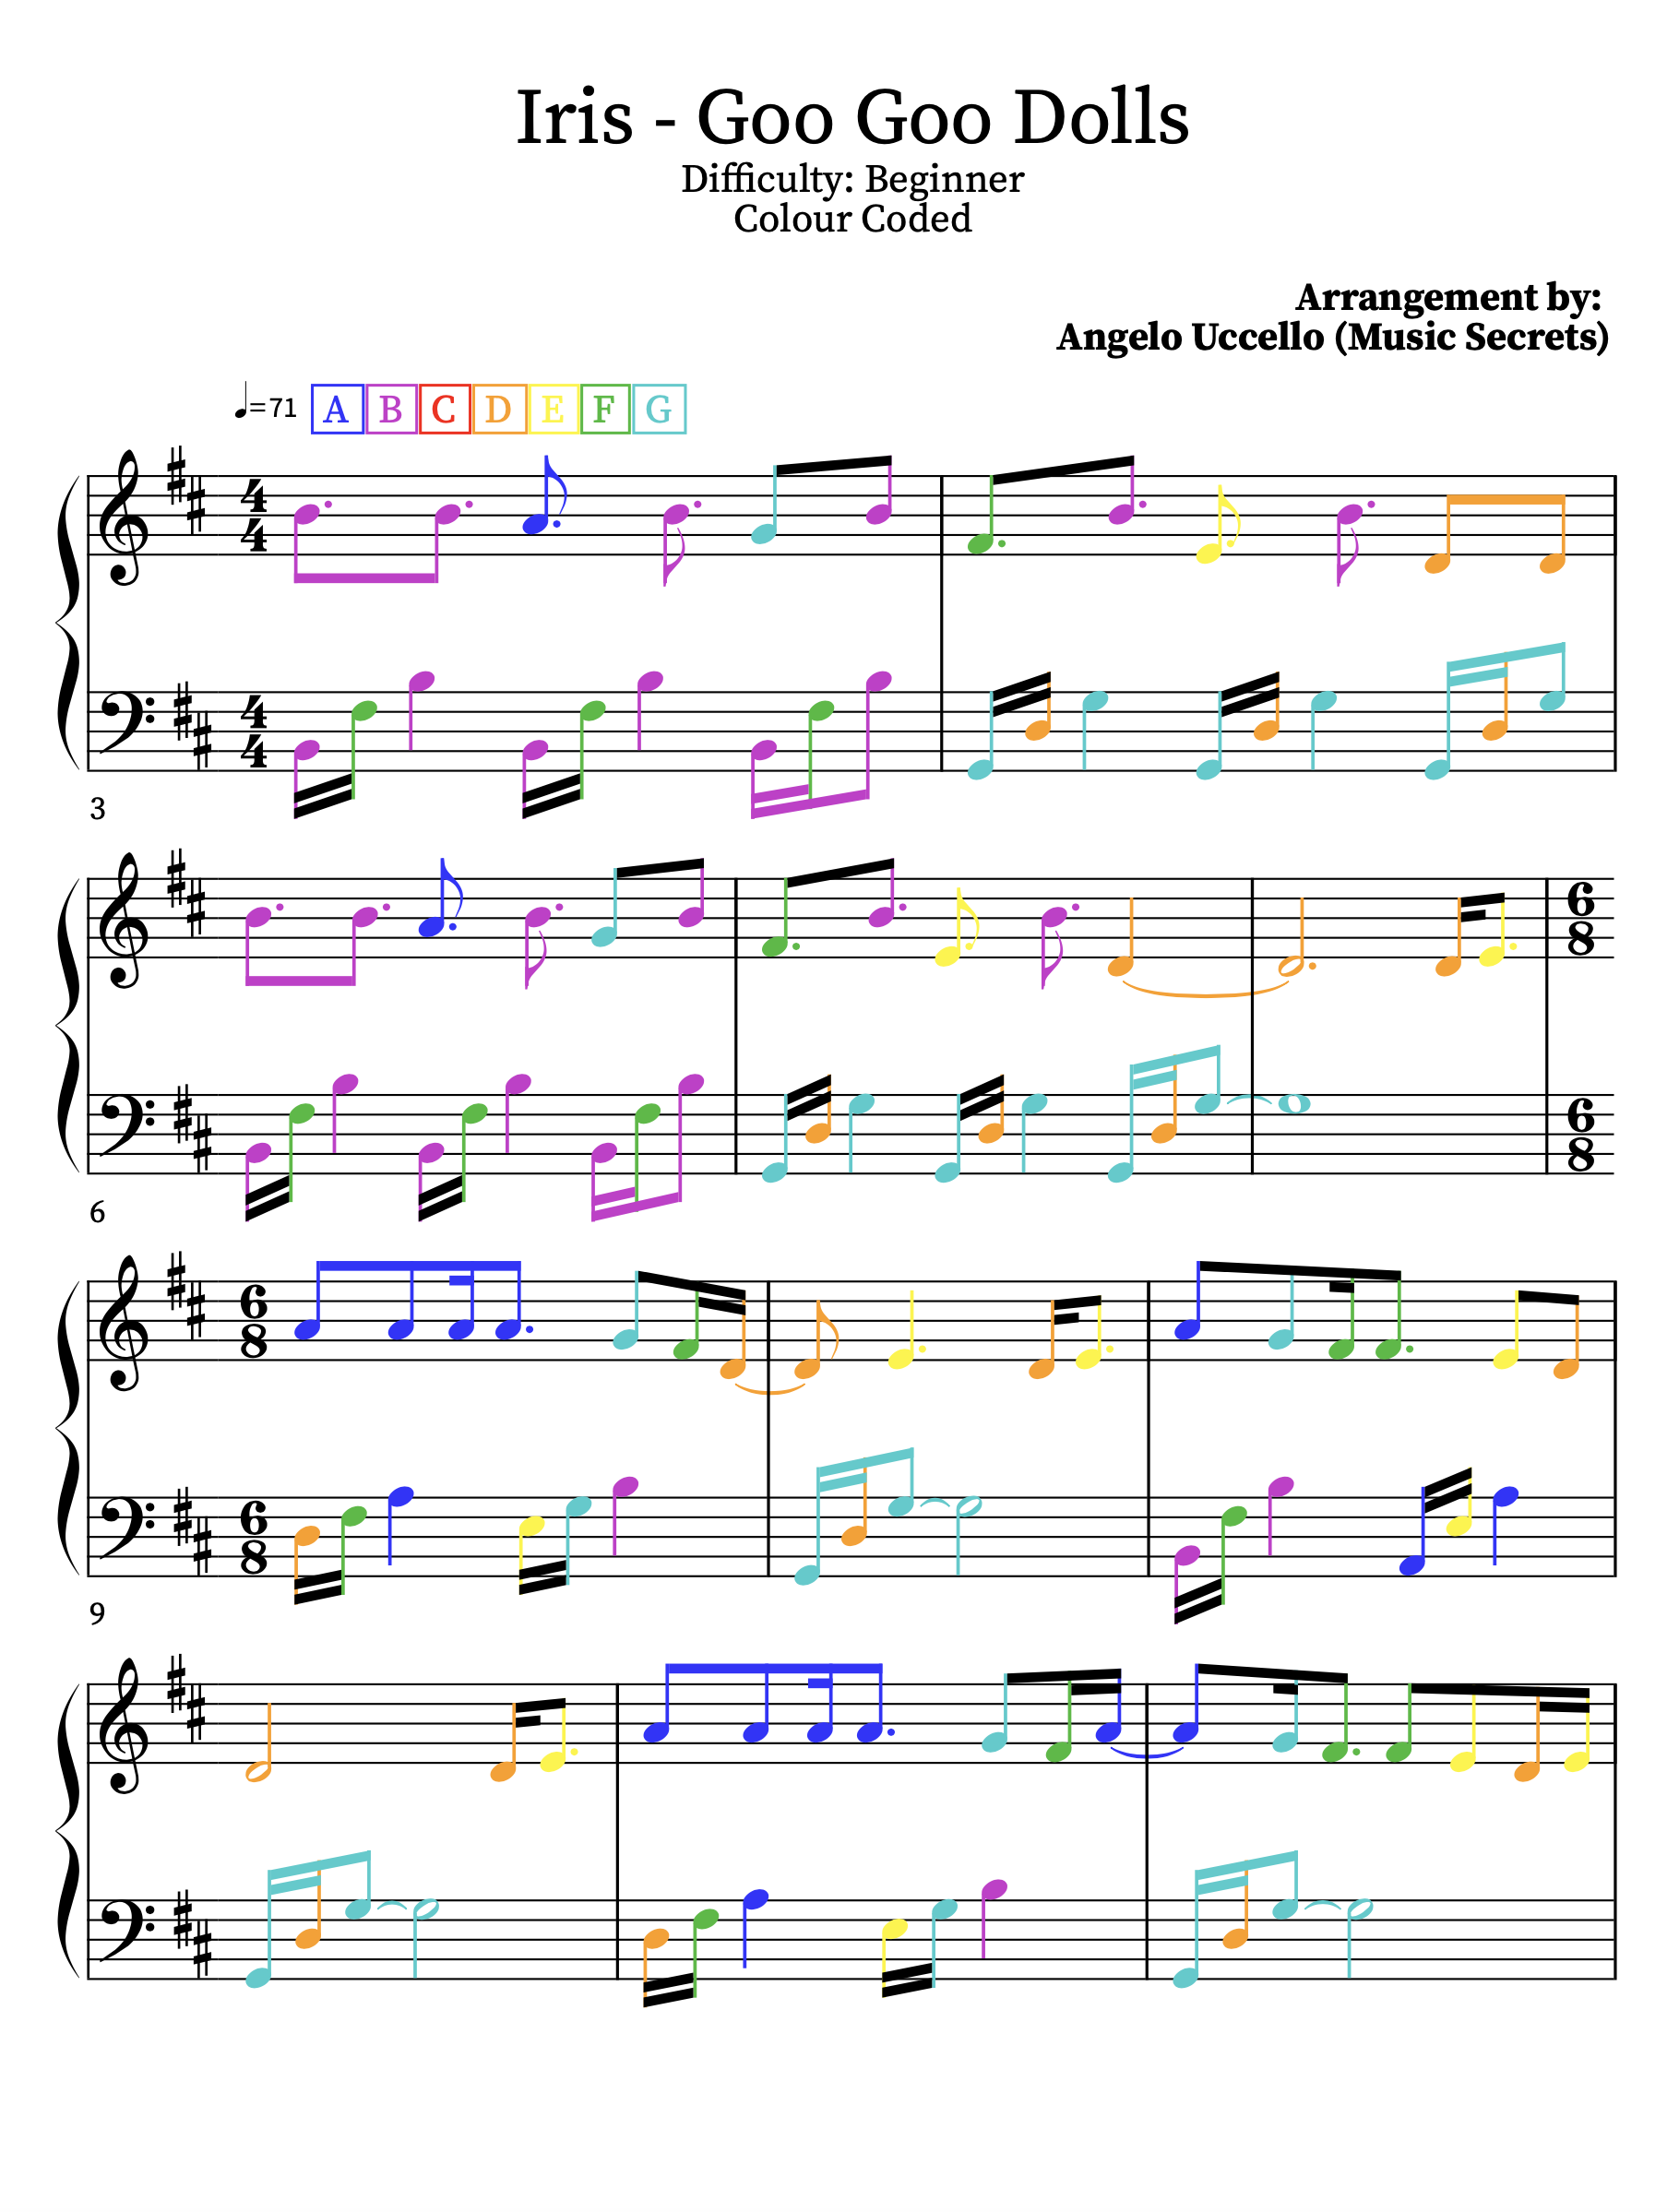
The music secrets & transferable skills this song teaches are…
● Roots & Fifth Octaves - & how to transition between them smoothly.
● The easiest way to play a melody.
● How to make learning easier by recognising repeats.
● Left hand revolving patterns.
-
Level - ★★★
The music secrets & transferable skills this song teaches are…
● Roots & Fifth Octaves - & how to transition between them smoothly.
● The easiest way to play a melody.
● How to make learning easier by recognising repeats.
● Left hand revolving patterns.
-
Level - ★★★
The music secrets & transferable skills this song teaches are…
●Roots & Fifth Octaves - & how to transition between them smoothly.
●The easiest way to play a melody.
●How to make learning easier by recognising repeats.
●An introduction to 16th notes.
●Introduction to accidentals.
●Introduction to basic right hand arpeggios.
-
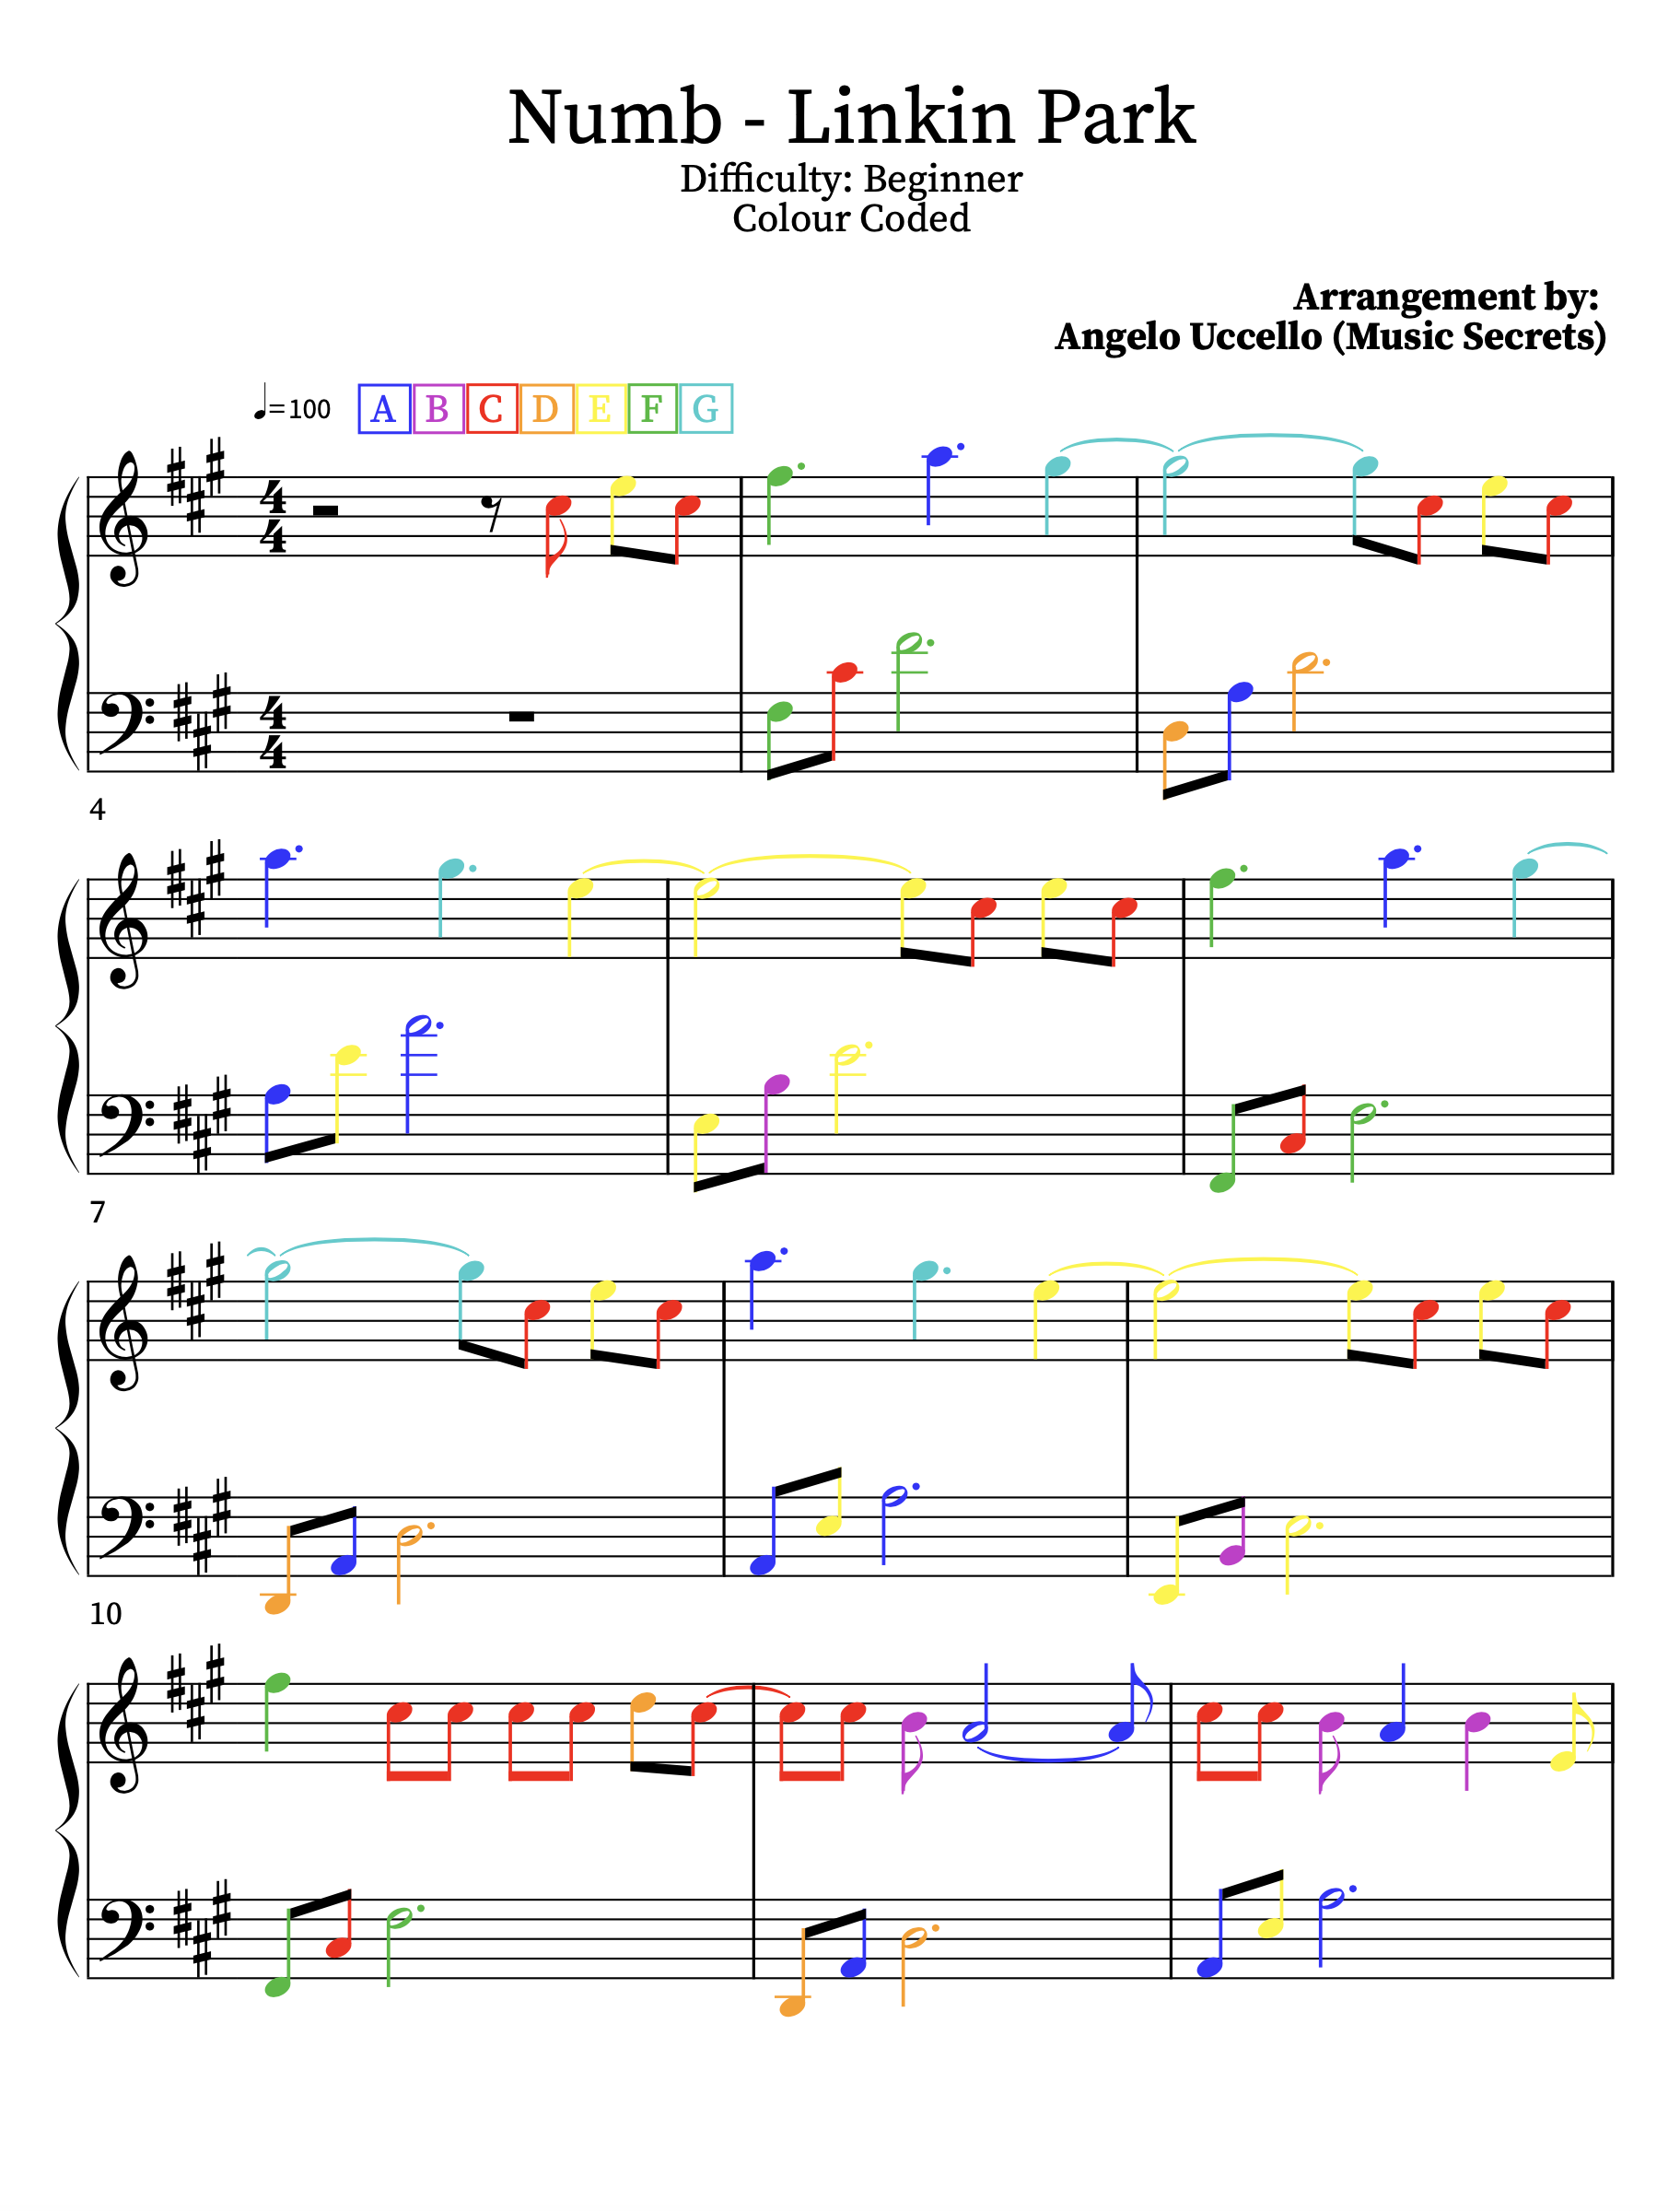
Level - ★★★
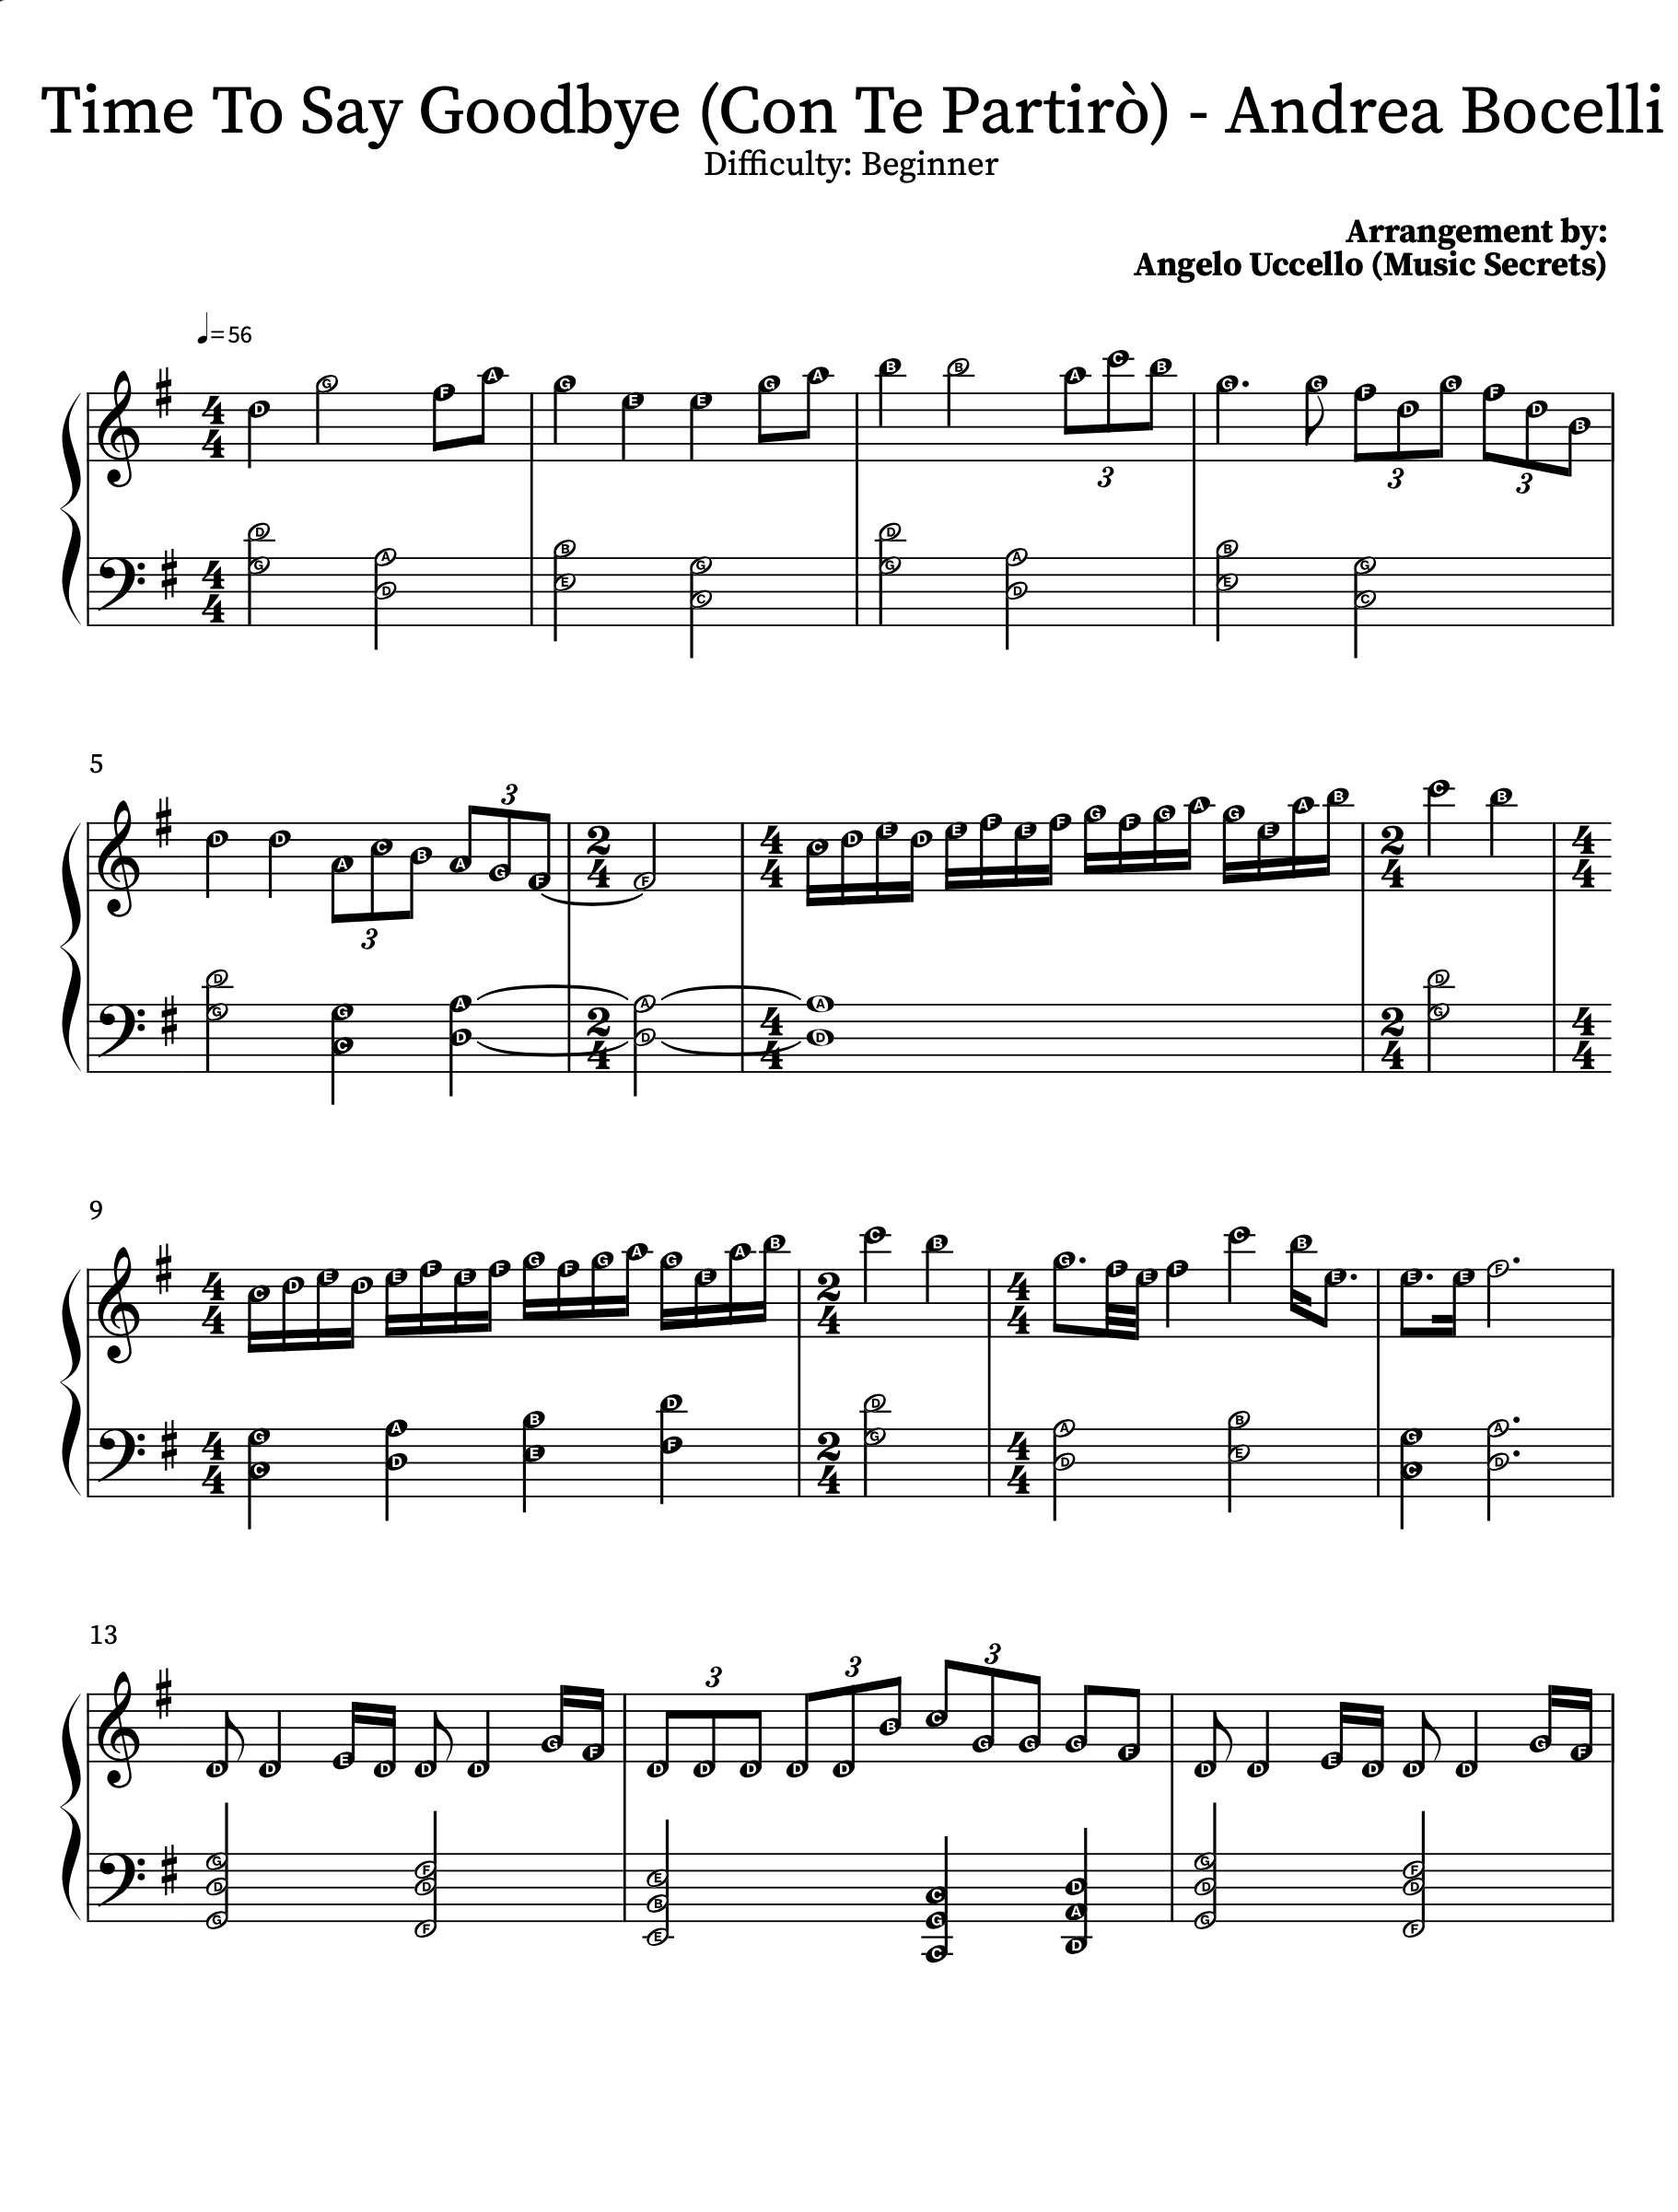
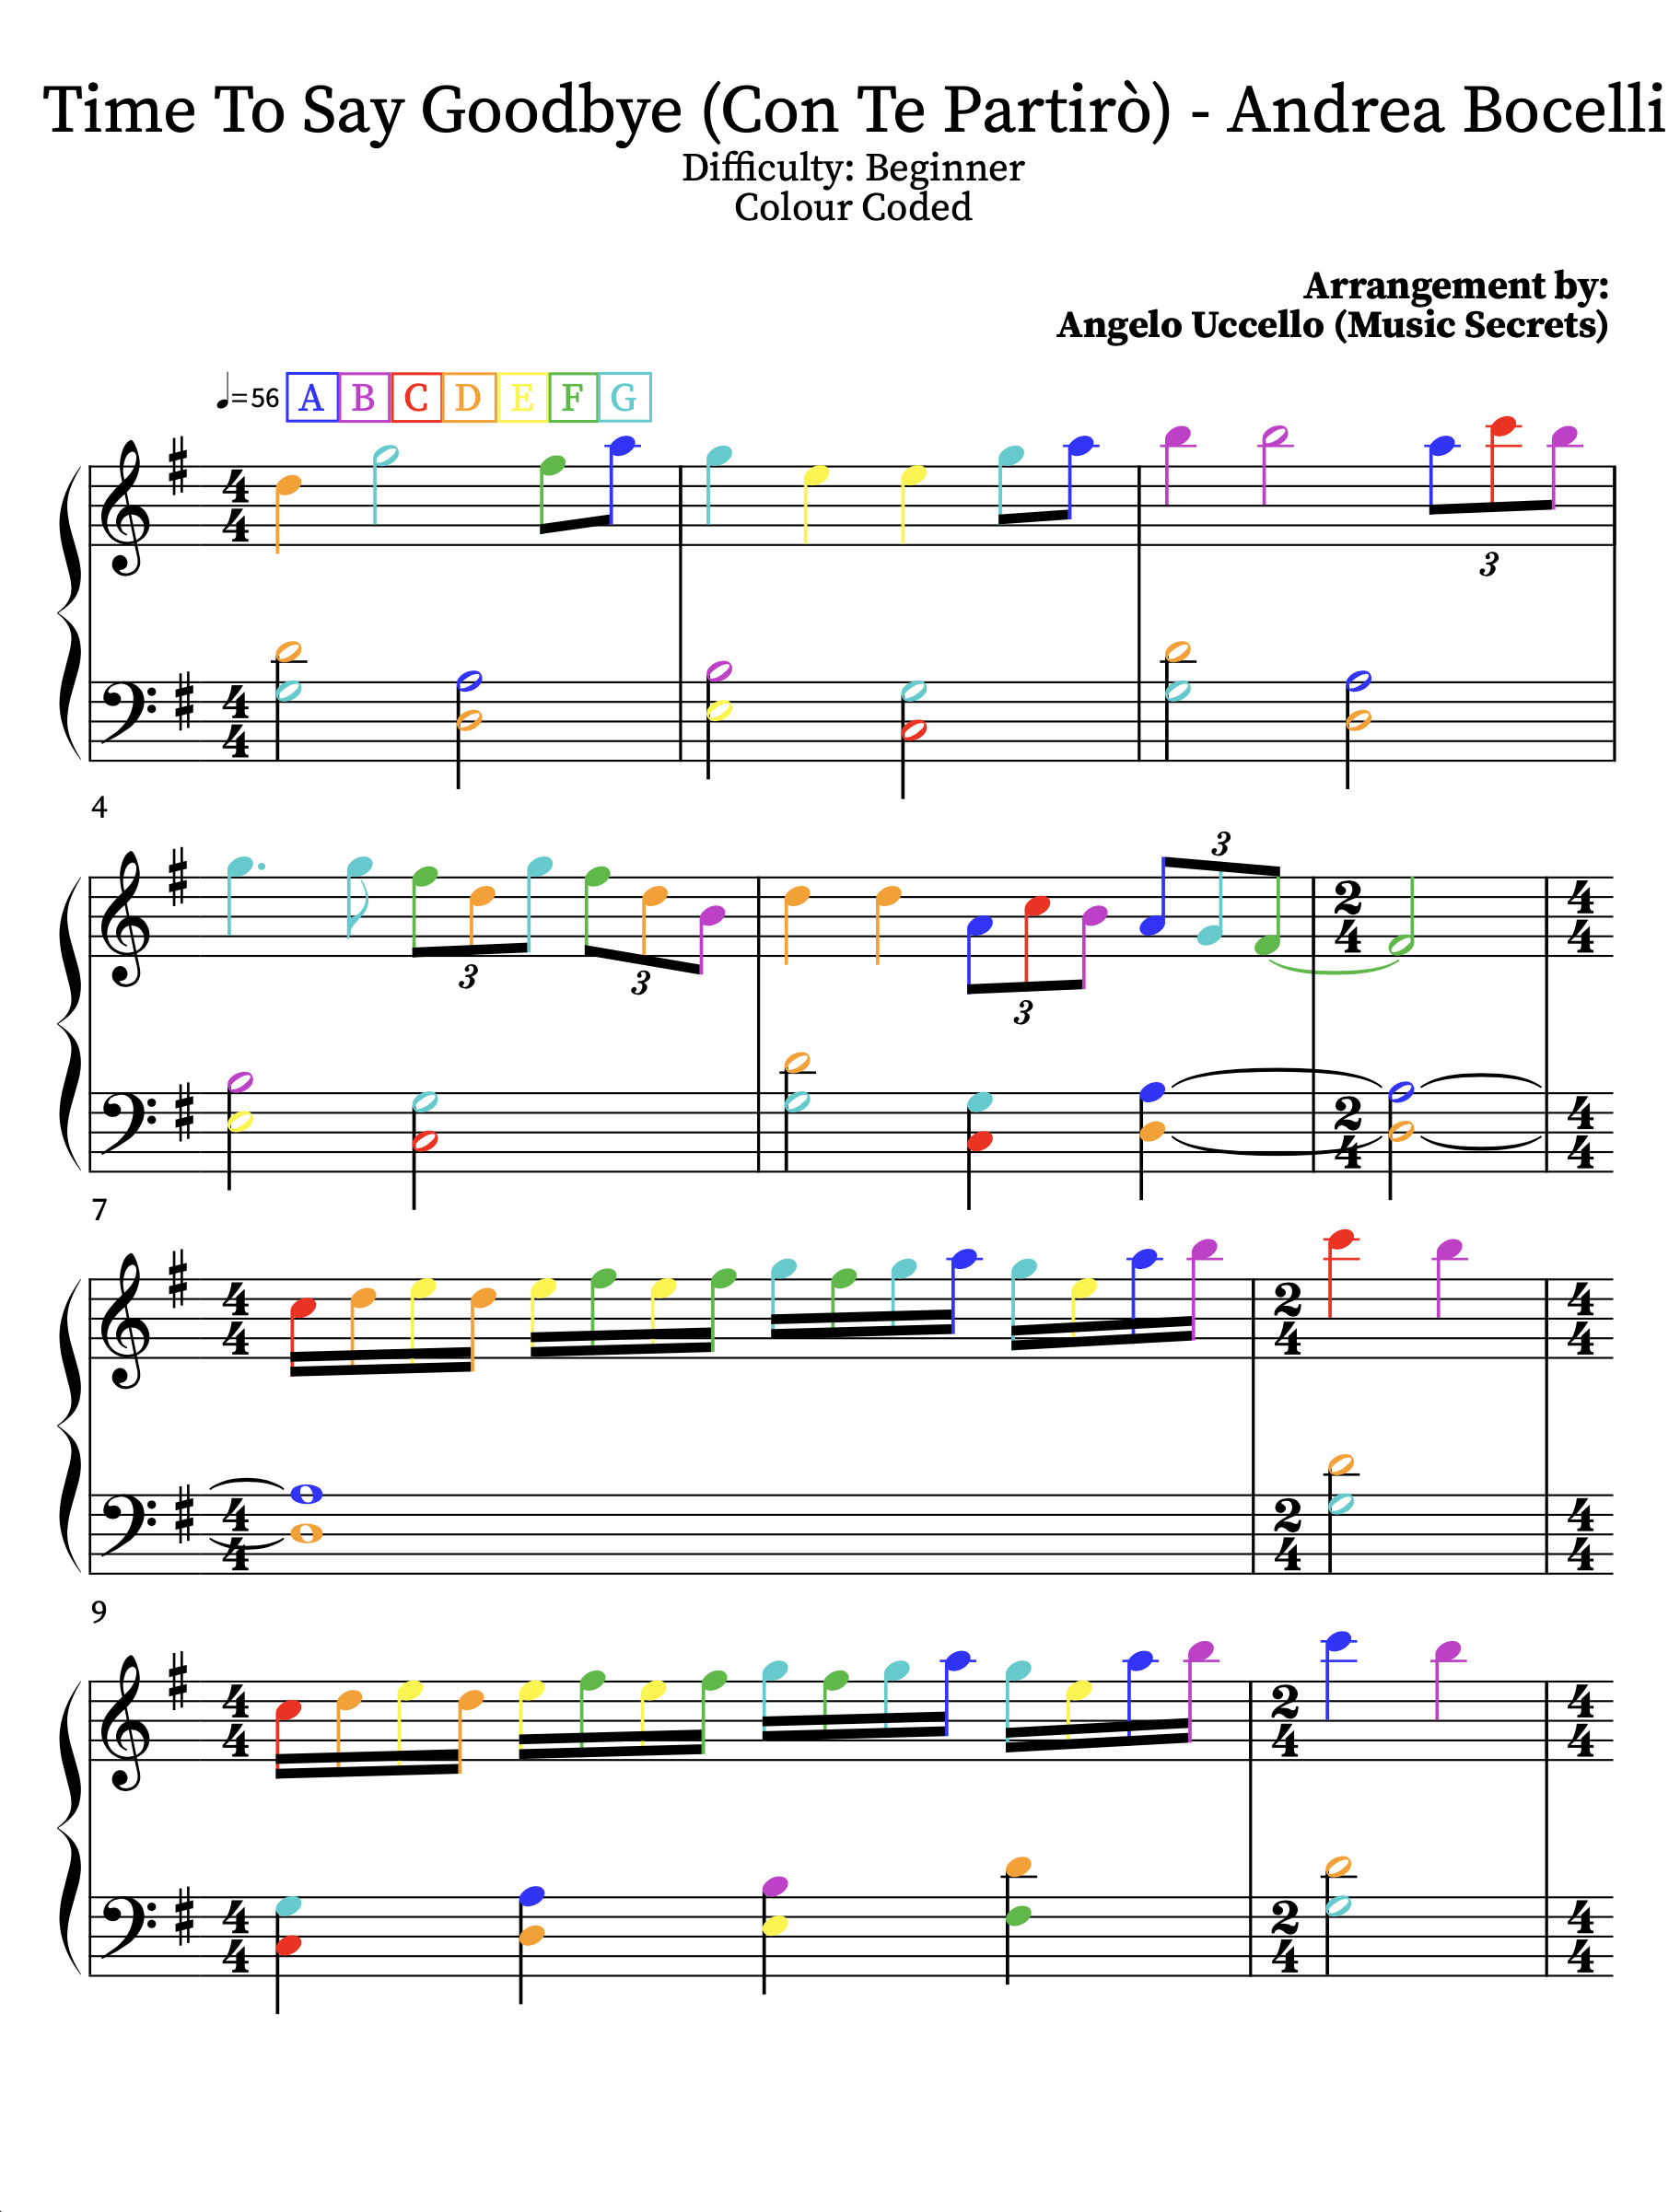
The music secrets & transferable skills this song teaches are…
● Roots & Fifth Octaves - & how to transition between them smoothly.
● How to play Root & Fifth as a chord rather than merely in succession.
● The easiest way to play a melody.
● How to make learning easier by recognising repeats.
● An introduction to 16th notes.
● How to play triplets.
● Introduction to Key changes.
● Introduction to accidentals.
-
Level - ★★★
The music secrets & transferable skills this song teaches are…
● Roots & Fifth Octaves - & how to transition between them smoothly.
● The easiest way to play a melody.
● How to make learning easier by recognising repeats.
● Left hand revolving patterns.
● Introduction to basic right hand arpeggios.
-

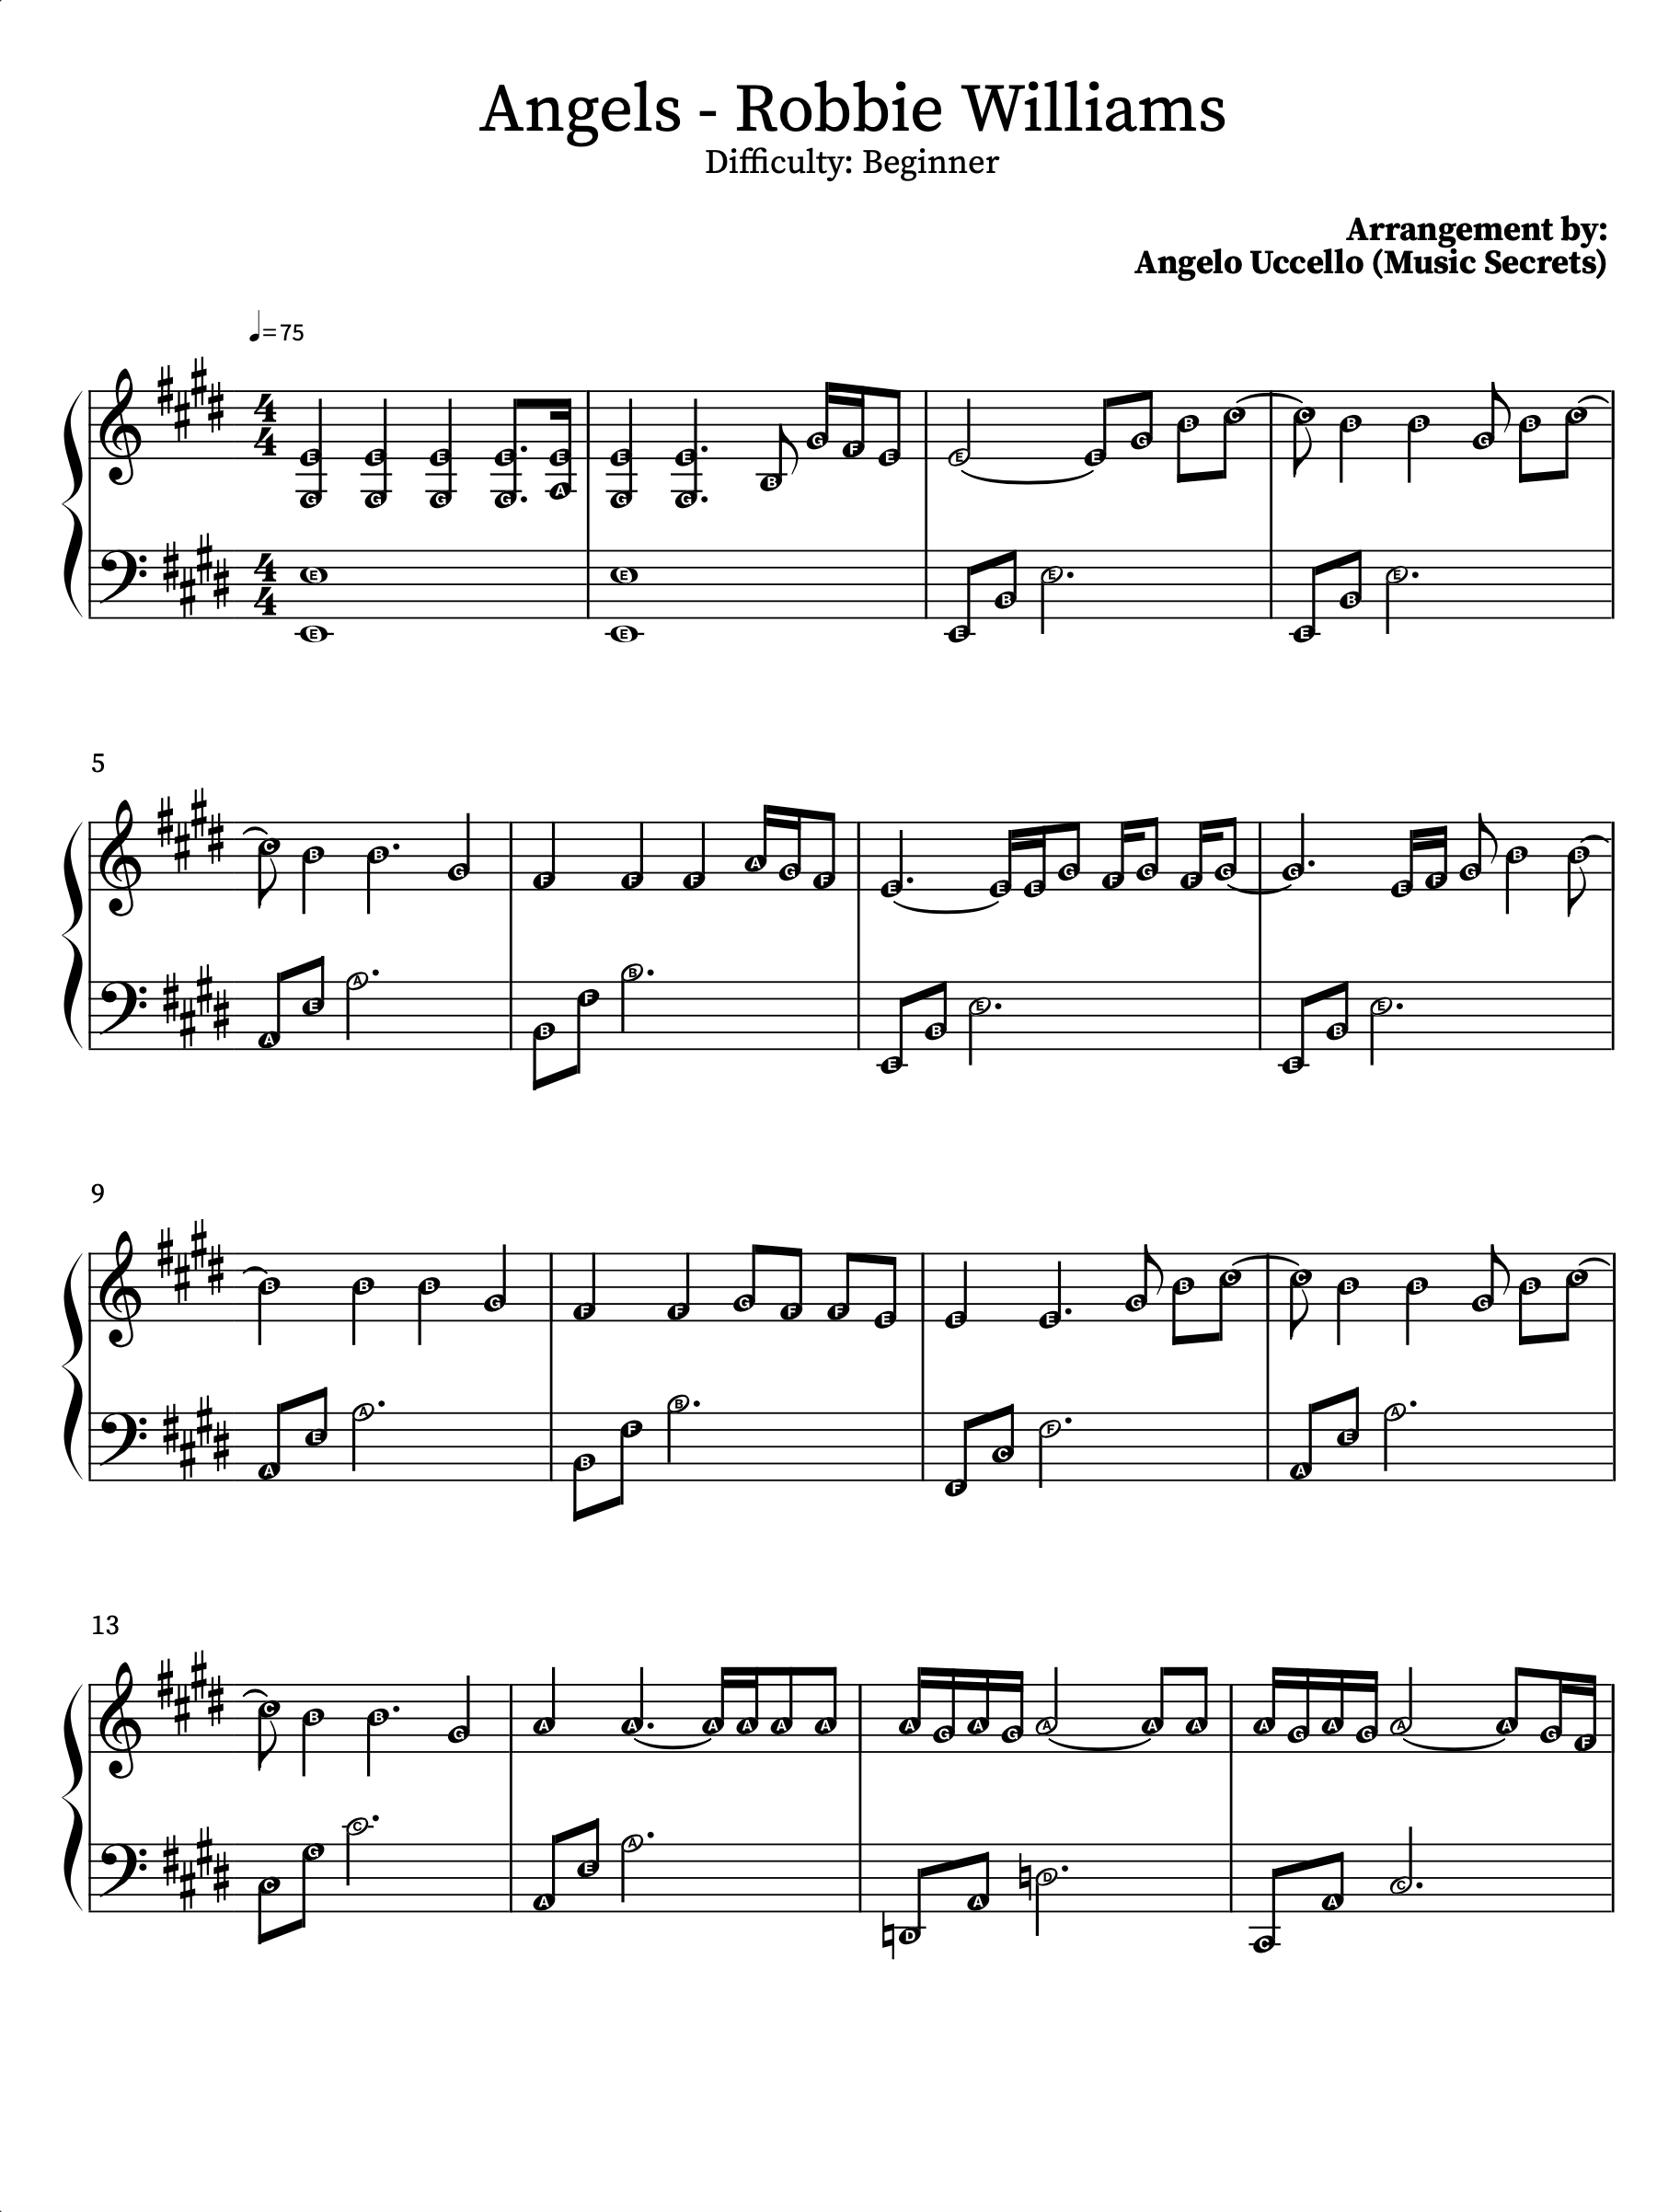
Level - ★★★★
The music secrets & transferable skills this song teaches are…
●Roots & Fifth Octaves - & how to transition between them smoothly.
●How to play Root & Fifth as a chord rather than merely in succession.
●The easiest way to play a melody.
●How to make learning easier by recognising repeats.
-

Level - ★★★★
The music secrets & transferable skills this song teaches are…
● Roots & Fifth Octaves - & how to transition between them smoothly.
● The easiest way to play a melody.
● How to make learning easier by recognising repeats.
● How to play basic right hand arpeggios.
-
Level - ★★★★
The music secrets & transferable skills this song teaches are…
● Roots & Fifth Octaves - & how to transition between them smoothly.
● The easiest way to play a melody.
● How to make learning easier by recognising repeats.
● How to play basic right hand arpeggios.
-

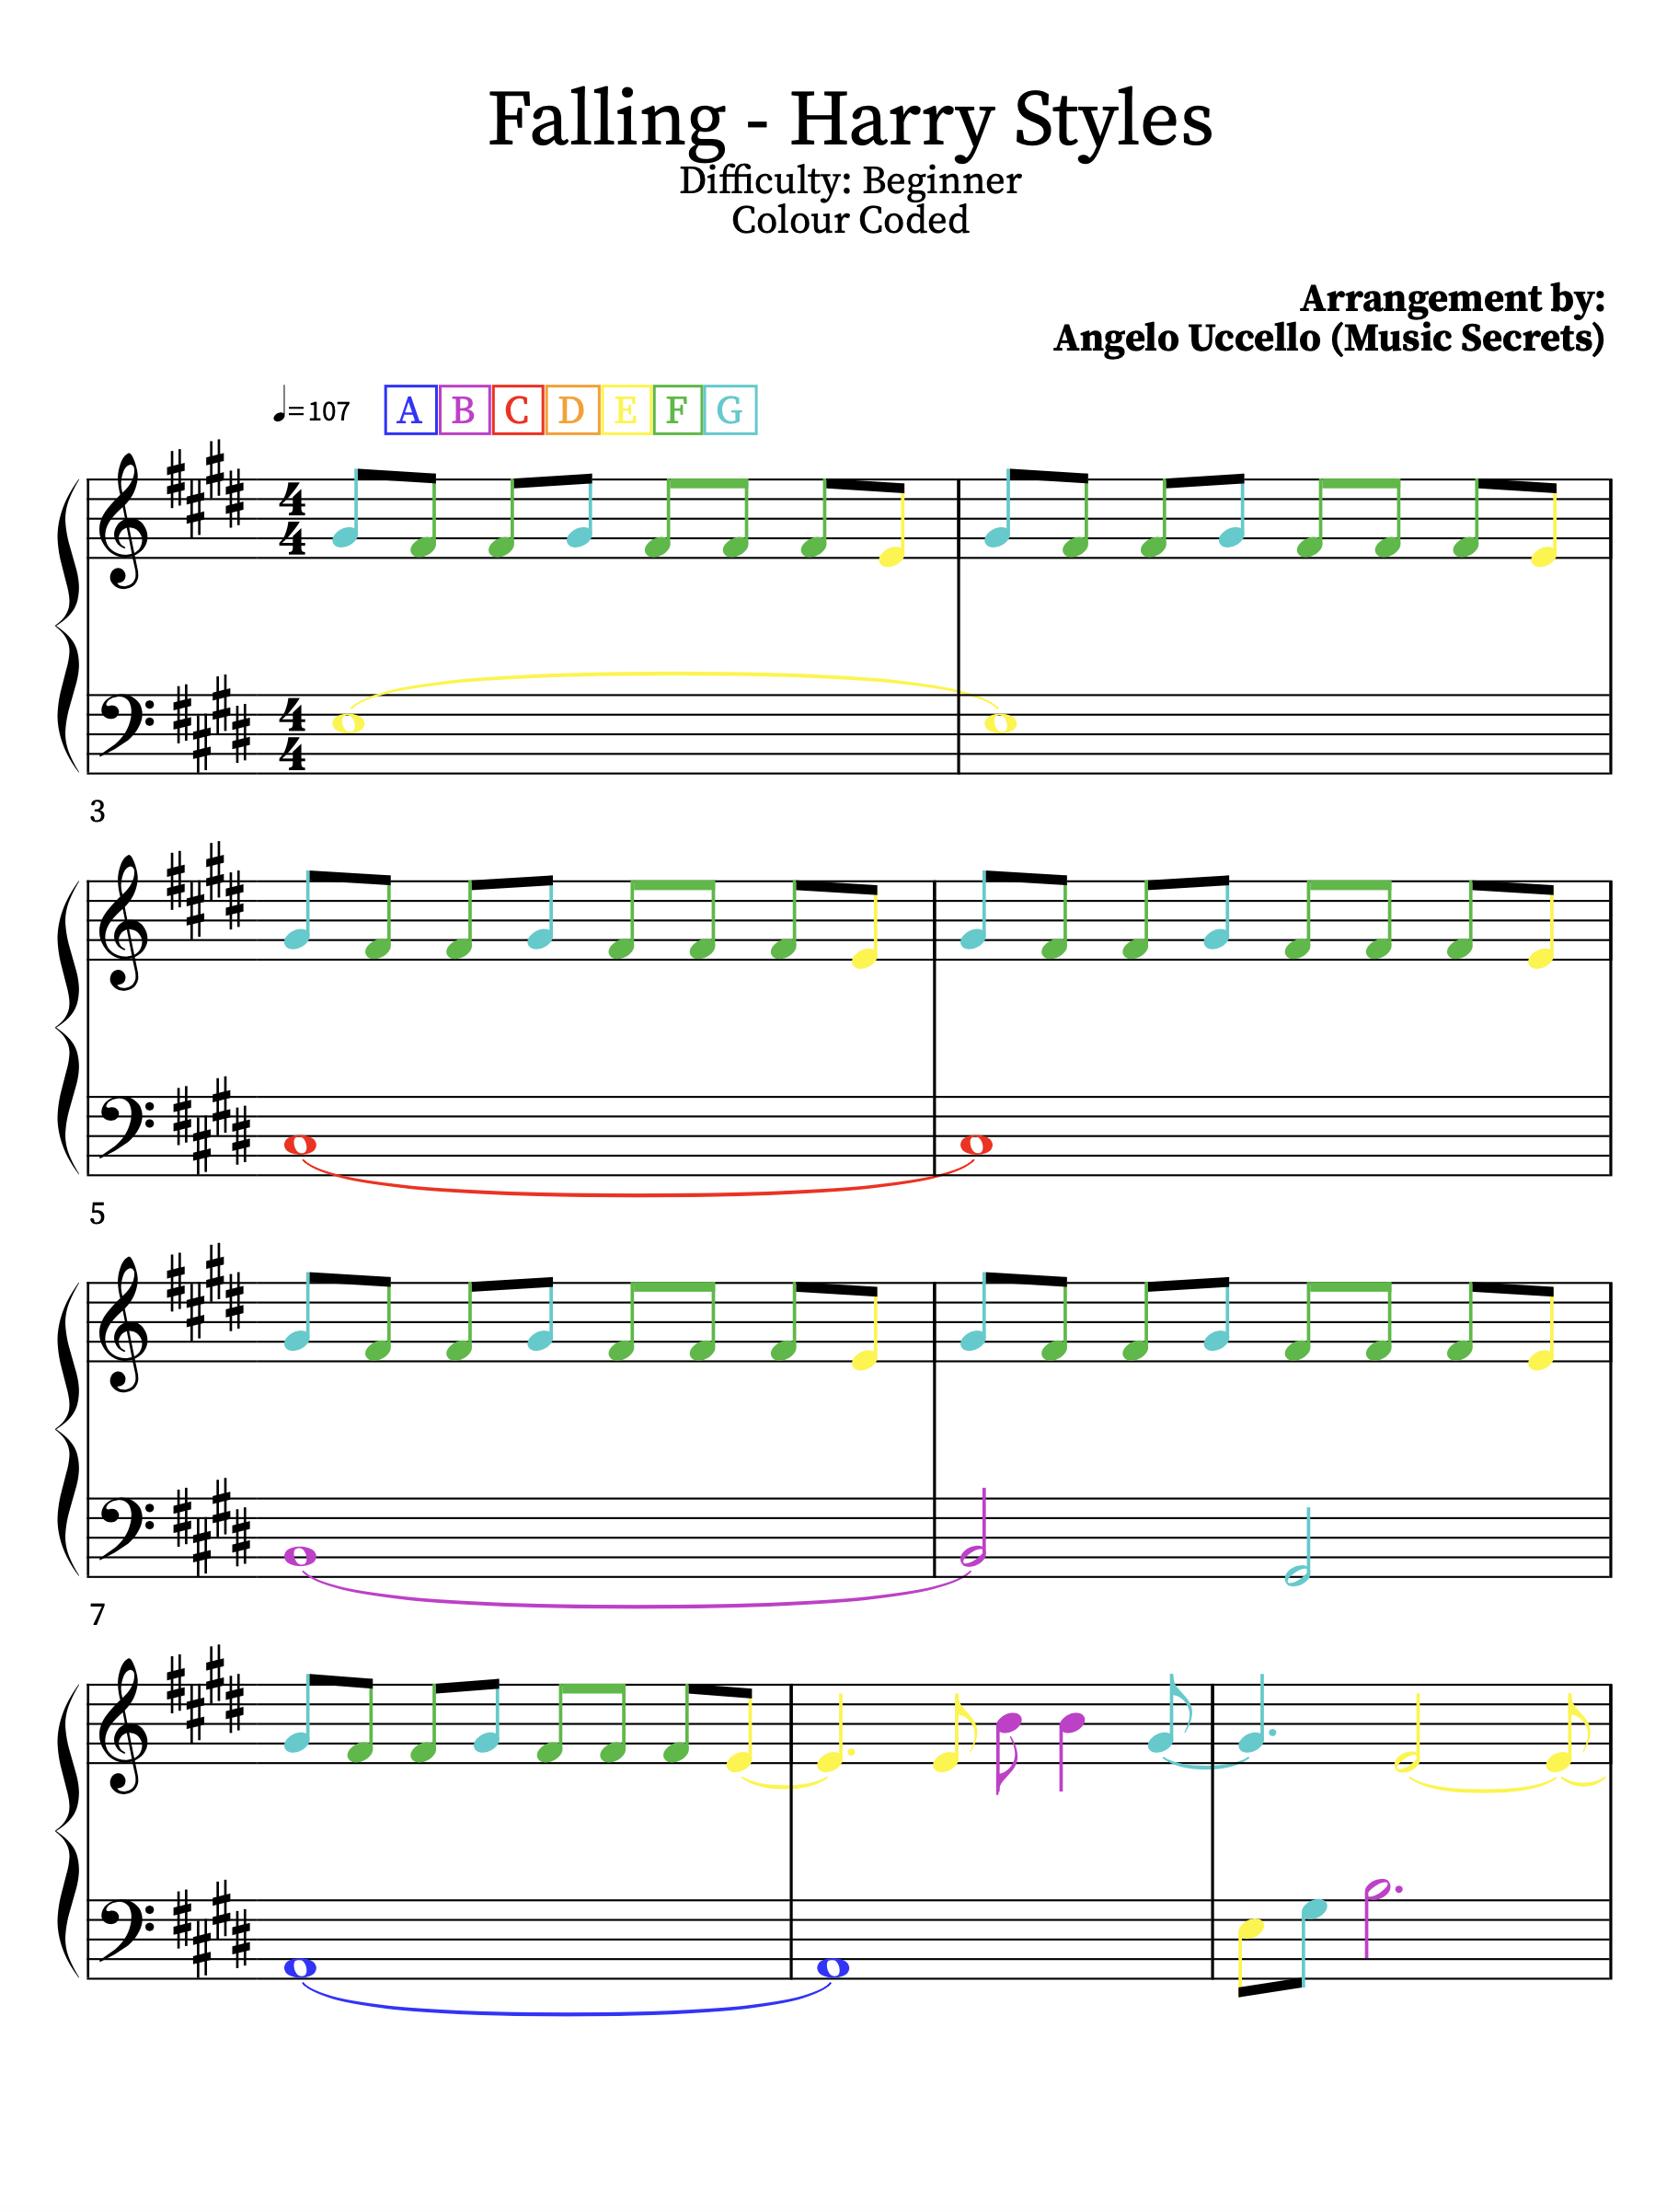
Level - ★★★★★
The music secrets & transferable skills this song teaches are…
● Roots & Fifth Octaves - & how to transition between them smoothly.
● Playing Root & Fifth as a chord rather than merely in succession.
● The easiest way to play a melody.
● How to make learning easier by recognising repeats.
● How to play and recognise accidentals.
● Introduction to staccato.
-
Level - ★★★★★
The music secrets & transferable skills this song teaches are…
● Roots & Fifth Octaves - & how to transition between them smoothly.
● Playing Root & Fifth as a chord rather than merely in succession.
● Left hand revolving patterns while playing a melody.
● Extending the melody beyond a single note using an anchor point.
● How to make learning easier by recognising repeats.
● Transitioning quickly between octaves.
Graduate To Intermediate!
If you’re here at this stage - making the jump from beginner to intermediate - let me first congratulate you for an incredible achievement, and crossing a significant milestone. You’ve laid the foundations, and sewed the seed of a skill that will prove to be a wonderful asset in life.
Now comes the point where you start learning intermediate level songs - a critical step en route to mastery. By following the levels from 1 to 5 as you have with beginner pieces, you will soon find yourself ready to tackle advanced songs. So what are you waiting for? Dive right into our Intermediate Catalogue and start learning more of the songs you love today…